How to implement OTA update
The following steps guide the users in creating a device on iot.espressif.cn and updating the OTA BIN on it.
Open the website http://iot.espressif.cn. If using SSL OTA, it should be https://iot.espressif.cn.
Open iot.espressif.cn website
Click “Join” in the upper right corner of the webpage, and enter your name, email address, and password.

Join iot.espressif.cn website
Click on “Device” in the upper right corner of the webpage, and click on “Create” to create a device.
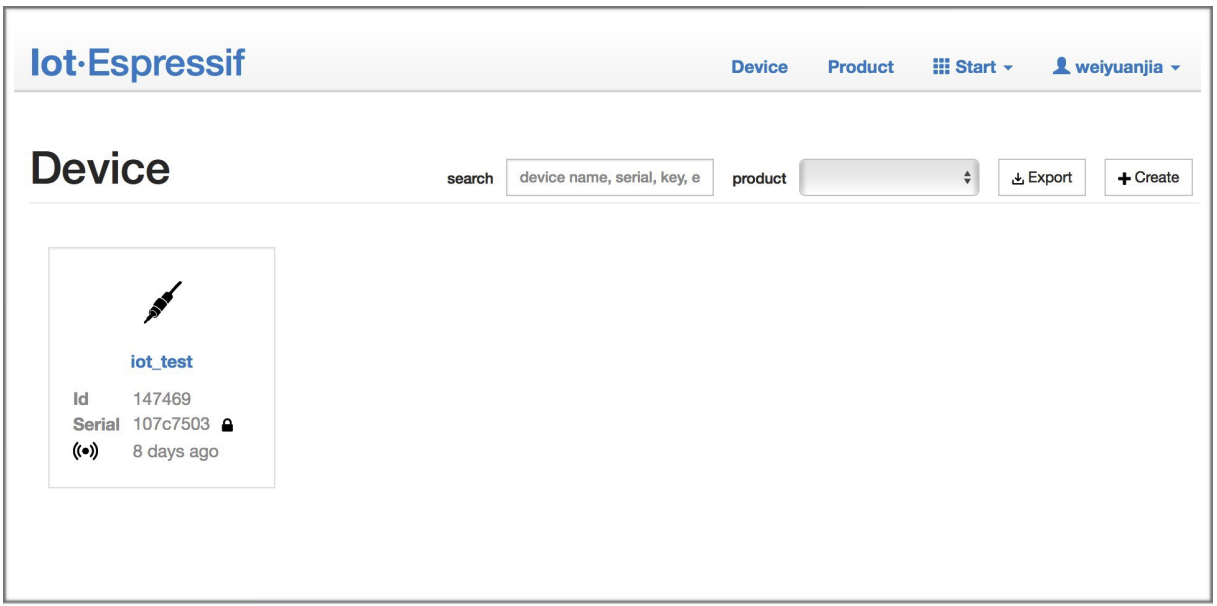
Click on “Device”
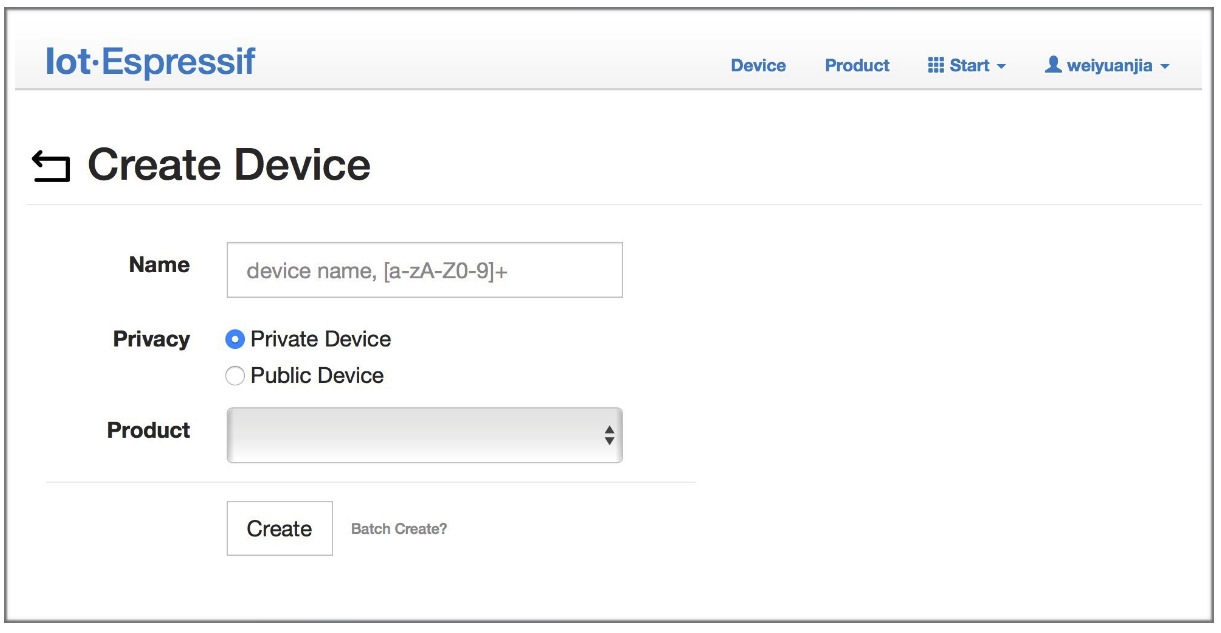
Click on “Create”
A key is generated when the device is successfully created, as the figure below shows.
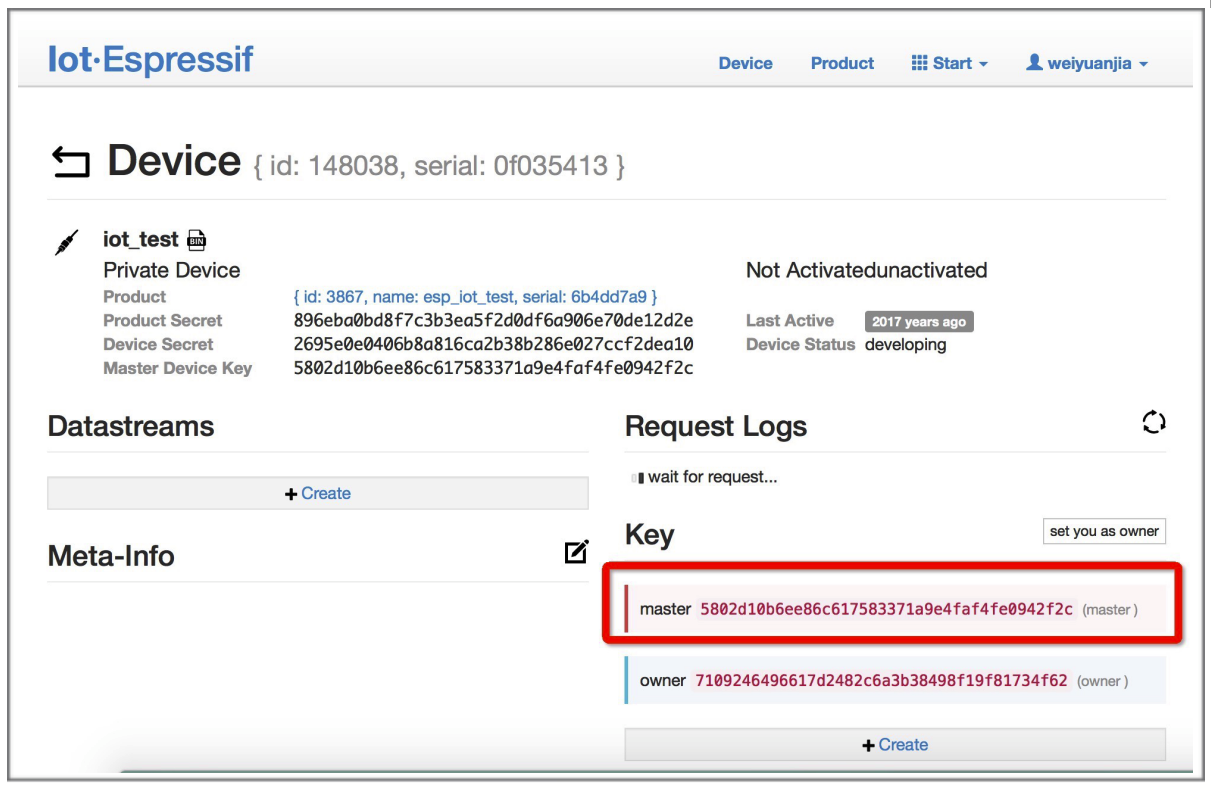
A key has been generated
Use the key to compile your own OTA BIN. The process of configuring the AT OTA token key is as follows:
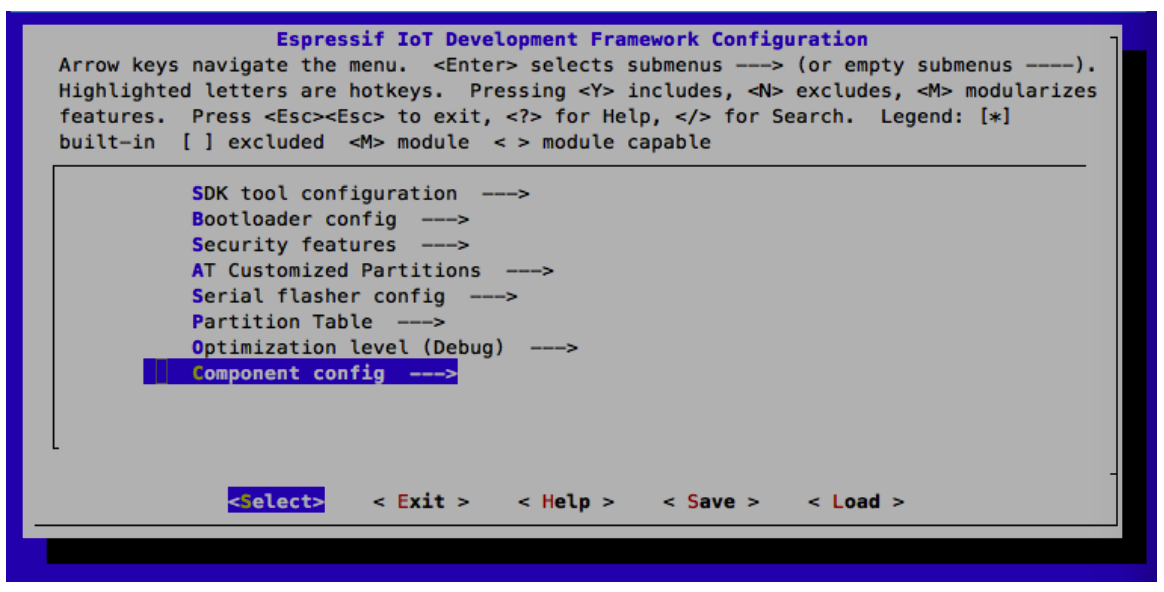
Configuring the AT OTA token key - Step 1
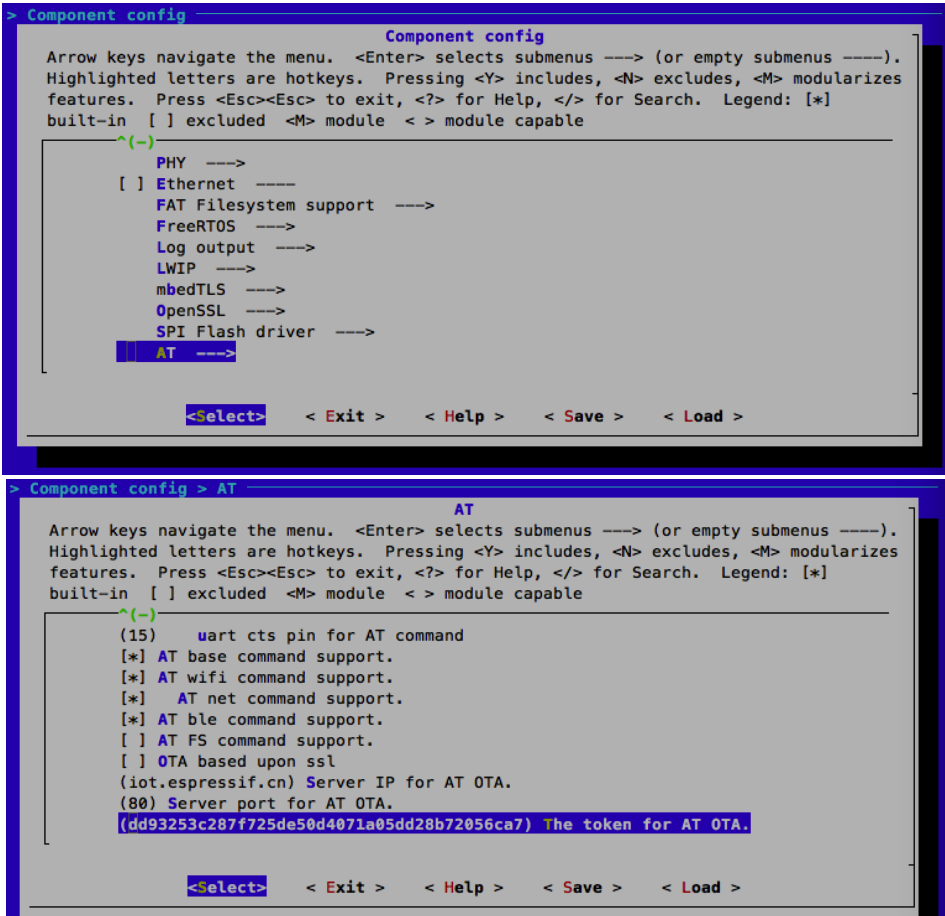
Configuring the AT OTA token key - Step 2 and 3
注解
If using SSL OTA, the option “OTA based upon ssl” should be selected.
Click on “Product” to enter the webpage, as shown below. Click on the device created. Enter version and corename under “ROM Deploy”. Rename the BIN compiled in Step 5 as “ota.bin” and save the configuration.
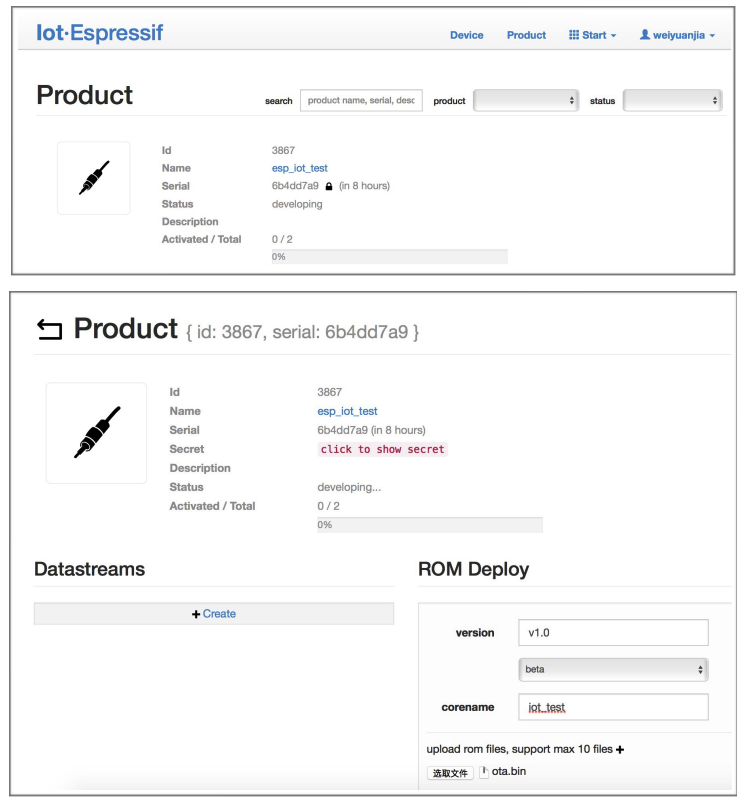
Enter version and corename
Click on the ota.bin to save it as the current version.
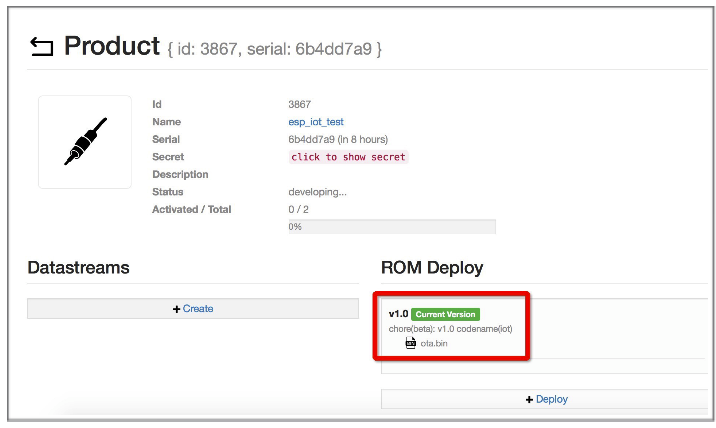
Save the current version of ota.bin
Run the command AT+CIUPDATE on the ESP device. If the network is connected, OTA update will be done.