How to Implement OTA Upgrade
This document introduces how to implement OTA upgrade on ESP32 series of modules. Currently, ESP-AT provides the following three OTA commands targeting at different scenarios. You could choose one command according to your needs.
The structure of this document is as follows:
Comparison Among OTA Commands and Their Application Scenarios
AT+USEROTA
This command implements OTA upgrade through a URL. You can upgrade to the firmware placed on the HTTP server. Currently, the command only supports the upgrade of app partitions. For more information on this command, please refer to AT+USEROTA for more details.
Since this command is a user-defined command, you can modify the implementation of this command by modifying the at/src/at_user_cmd.c source code.
The application scenarios of this command are as follows:
You have your own HTTP server.
You need to specify the URL.
Important
If the firmware you upgrade is not officially released by Espressif, you may no longer be able to use AT+CIUPDATE command to upgrade after the upgrade is complete, unless you create your own device according to OTA Upgrade with AT+CIUPDATE.
AT+CIUPDATE
This command uses iot.espressif.cn as the default HTTP server. It can upgrade both the app partition and the user-defined partitions that are defined in the at_customize.csv. If you are using the version released by Espressif, it will only upgrade to the version released by Espressif. For more information on this command, please refer to AT+CIUPDATE for more details.
To upgrade the customized bin file with this command, please select one of the following ways.
replace iot.espressif.cn with the your own HTTP server and implement the interactive process. For how to implement your own AT+CIUPDATE command, please refer to at/src/at_ota_cmd.c.
create a devices on iot.espressif.cn and upload customized AT firmware on it. (The premise is that the firmware running in the module already corresponds to the device you created on the Espressif server.) For more information, please refer to OTA Upgrade with AT+CIUPDATE.
The application scenarios of this command are as follows:
You only use the firmware released by Espressif, and only want to upgrade to the firmware released by Espressif.
You want to upgrade the customized bin file, but do not have an HTTP server.
You have your own HTTP server. In addition to the app partition, you also want to upgrade the user-defined partitions in at_customize.csv.
AT+WEBSERVER
This command upgrades AT firmware with a browser or WeChat applet. Currently, this command only supports the upgrade of app partitions. Before starting the upgrade, please enable the web server command and copy the AT firmware to the computer or mobile phone in advance. For more information, you can refer to AT+WEBSERVER and Web Server AT Example.
To implement your own HTML page, please refer to the example of fs_image/index.html. To implement your own AT+WEBSERVER command, please refer to the example of at/src/at_web_server_cmd.c.
The application scenarios of this command are as follows:
You need a more convenient and faster OTA upgrade that does not rely on network status.
Important
If the firmware you upgrade is not officially released by Espressif, you may no longer be able to use AT+CIUPDATE command to upgrade after the upgrade is complete, unless you create your own device according to OTA Upgrade with AT+CIUPDATE.
Perform OTA Upgrade with ESP-AT OTA Commands
OTA Upgrade with AT+USEROTA
Please refer to AT+USEROTA: for more details.
OTA Upgrade with AT+CIUPDATE
To upgrade the customized bin file with AT+CIUPDATE command, the first thing to do is to upload the bin file to the iot.espressif.cn and obtain the token value. The following steps describe how to create a device on iot.espressif.cn and upload the bin file to it.
Open the website http://iot.espressif.cn or https://iot.espressif.cn.

Open iot.espressif.cn website
Click “Join” in the upper right corner of the webpage, and enter your name, email address, and password.
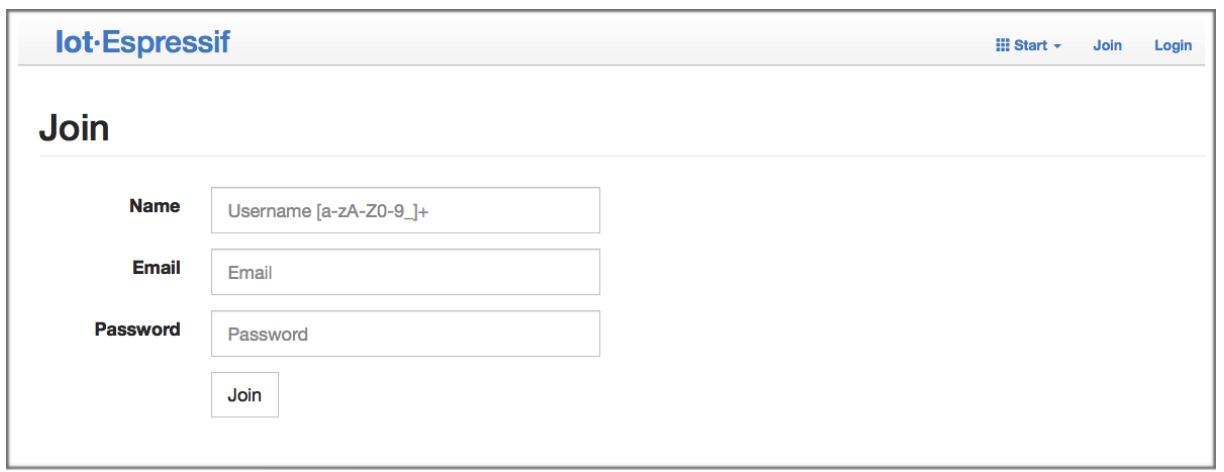
Join iot.espressif.cn website
Note
The
Joinfunction is currently not open to new users. If you want to use it, please contact Espressif.
Click on “Device” in the upper left corner of the webpage, and click on “Create” to create a device.
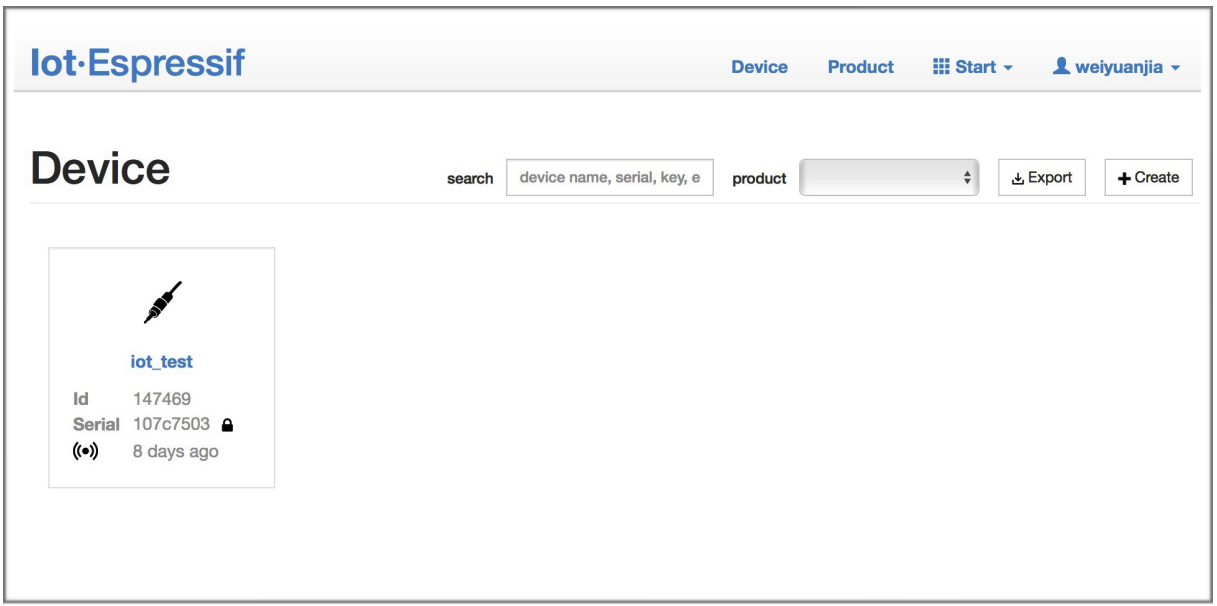
Click on “Device”
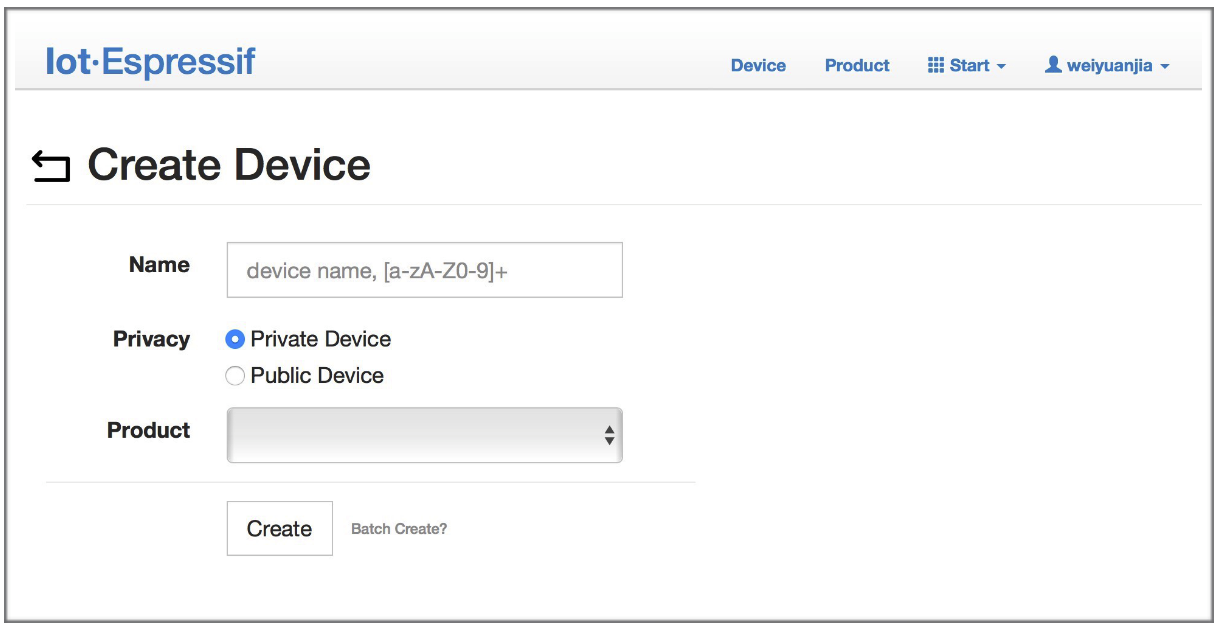
Click on “Create”
A key is generated when the device is successfully created, as the figure below shows.
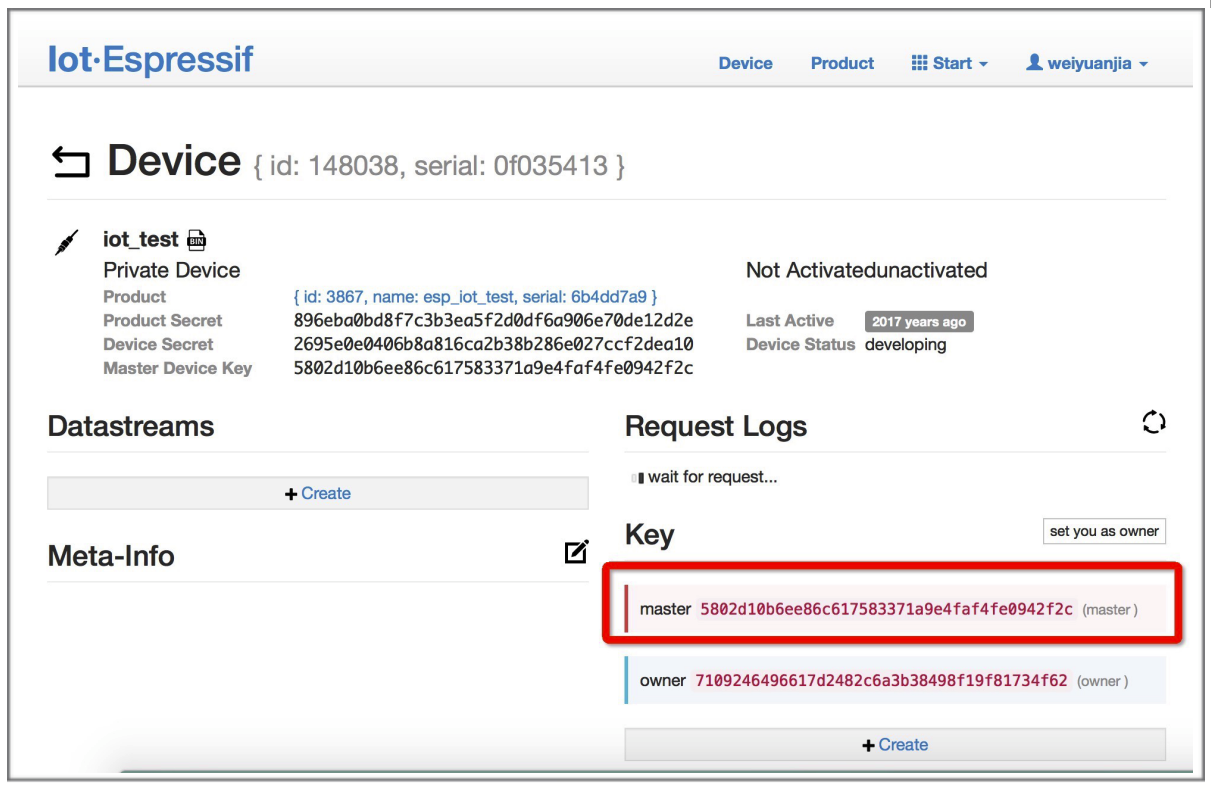
A key has been generated
Use the key to compile your own OTA bin file. The process of configuring the AT OTA token key is as follows:

Configuring the AT OTA token key - Step 1
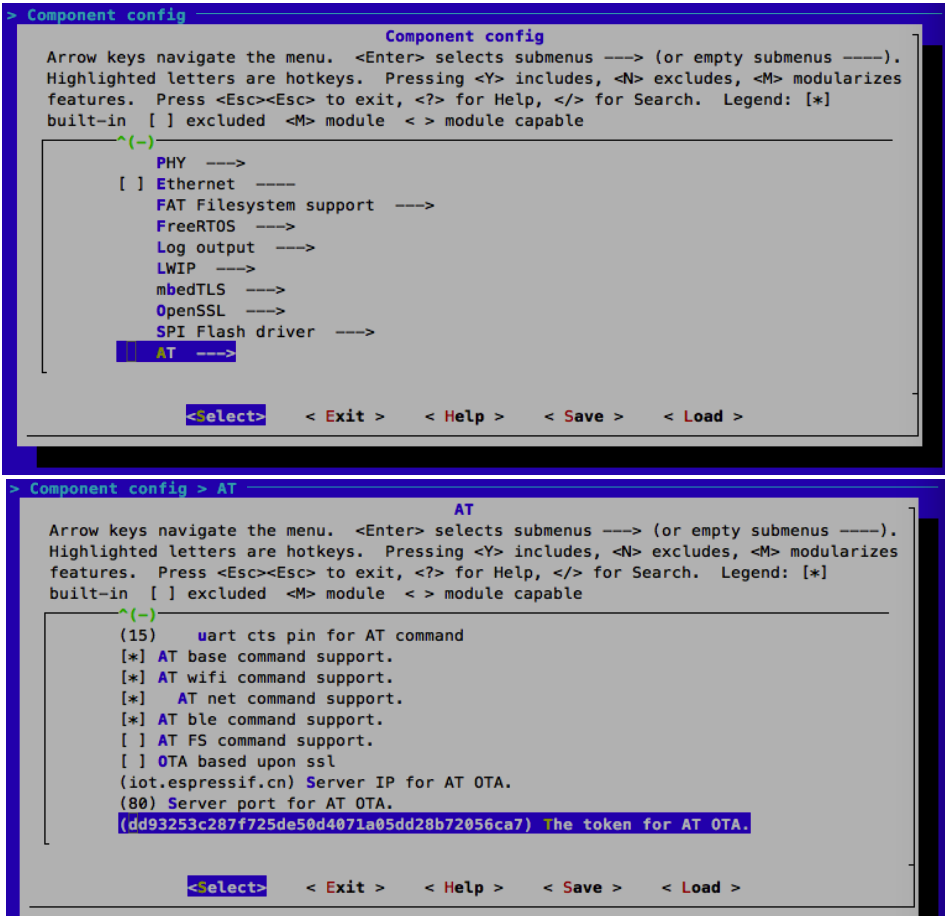
Configuring the AT OTA token key - Step 2 and 3
Note
If using SSL OTA, the option “The SSL token for AT OTA” also needs to be configured.
Click on “Product” to enter the webpage, as shown below. Click on the device created. Enter version and corename under “ROM Deploy”. Rename the bin file in Step 5 as “ota.bin” and save the configuration.
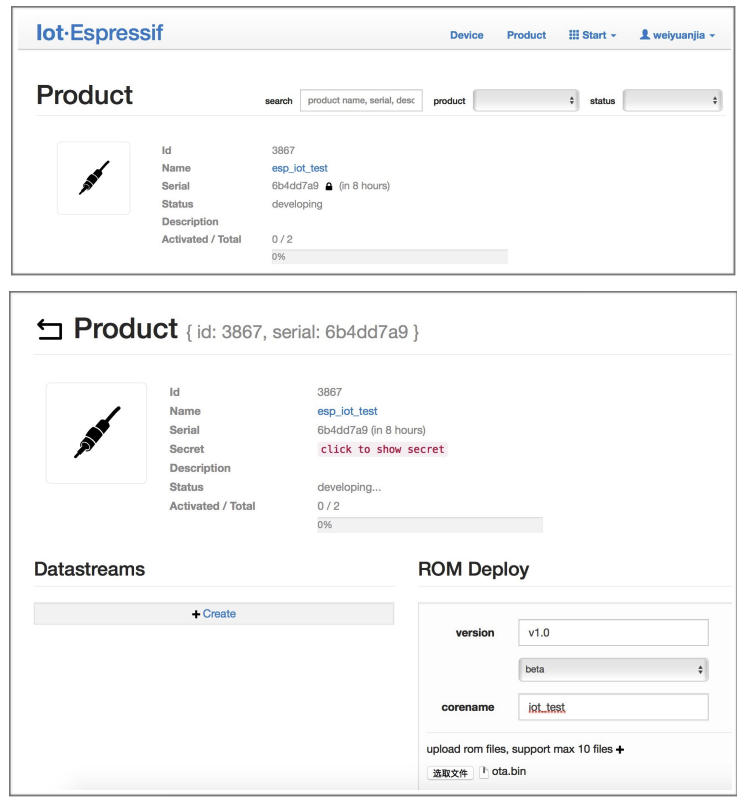
Enter version and corename
Note
If you want to upgrade the user-defined partition defined in the
at_customize.csv, just replaceota.binwith the bin of the user-defined partition.For the field
corename, the purpose of this field is only to help you distinguish bin files.
Click on the ota.bin to save it as the current version.
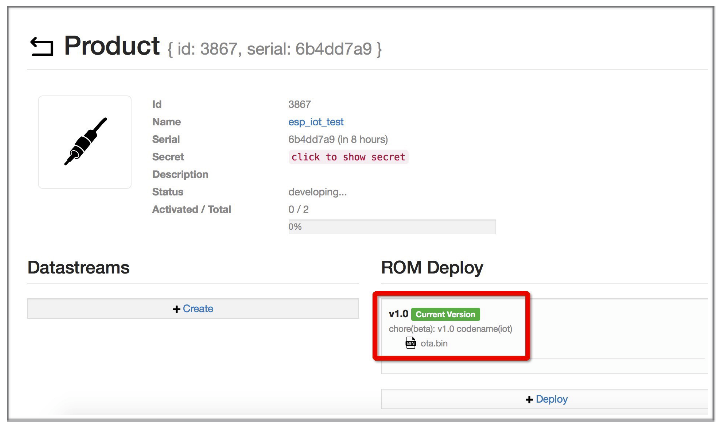
Save the current version of ota.bin
Run the command AT+CIUPDATE on the ESP32. If the network is connected, OTA upgrade will begin.
Important
When setting the name of bin files uploaded to the iot.espressif.cn, please follow the rules below:
If you upgrade
apppartitions, set the bin file name toota.bin.If you upgrade a user-defined partition, set the bin file name as the
Namefield in theat_customize.csv. For example, if you upgradefactory_Parampartition, please set it tofactory_ param.bin.
ESP-AT stores the new firmware in a spare OTA partition. In this way, even if OTA fails due to unexpected reasons, the original ESP-AT firmware can still run. But for user-defined partitions, because ESP-AT has no backup measures, please upgrade it carefully.
If you intend to upgrade only customized bin file at the beginning, please set the OTA token to your own token value when the initial version is released.
OTA Upgrade with AT+WEBSERVER
Please refer to AT+WEBSERVER and Web Server AT Example for more details.