Matter QR Code Generator
Matter QR Code Generator is used to generate QR codes that are used for provisioning Espressif’s Matter devices. Integrated with BarTender, the generator enables label design and printing. With Matter QR Code Generator, you can configure label templates, select printers, and define data sources flexibly, meeting various QR code generation and printing needs in different scenarios. The generator also supports laser engraving machines over LAN for easier integration.
Download Link: Matter QR Code Generator
Software Directory
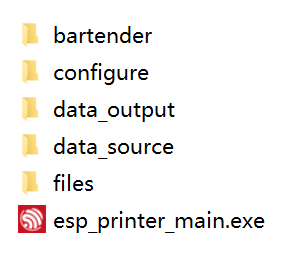
The directory structure of the Matter QR code generator is as follows:
bartender: stores library dependency filesconfigure: stores configuration filesdata_output: stores temporary output filesdata_source: stores files for local printingfiles: stores printing template files and scanning board firmwareesp_printer_main.exe: the main executable file
QR code generator main interface (click to enlarge)
Get Started
Install BarTender
BarTender is the middleware of Espressif’s Matter QR code Generator. Currently, Matter QR code Generator only supports BarTender 2022 and 2016 64-bit versions. During installation, make sure to choose the default path. You can select just the BarTender Designer module.
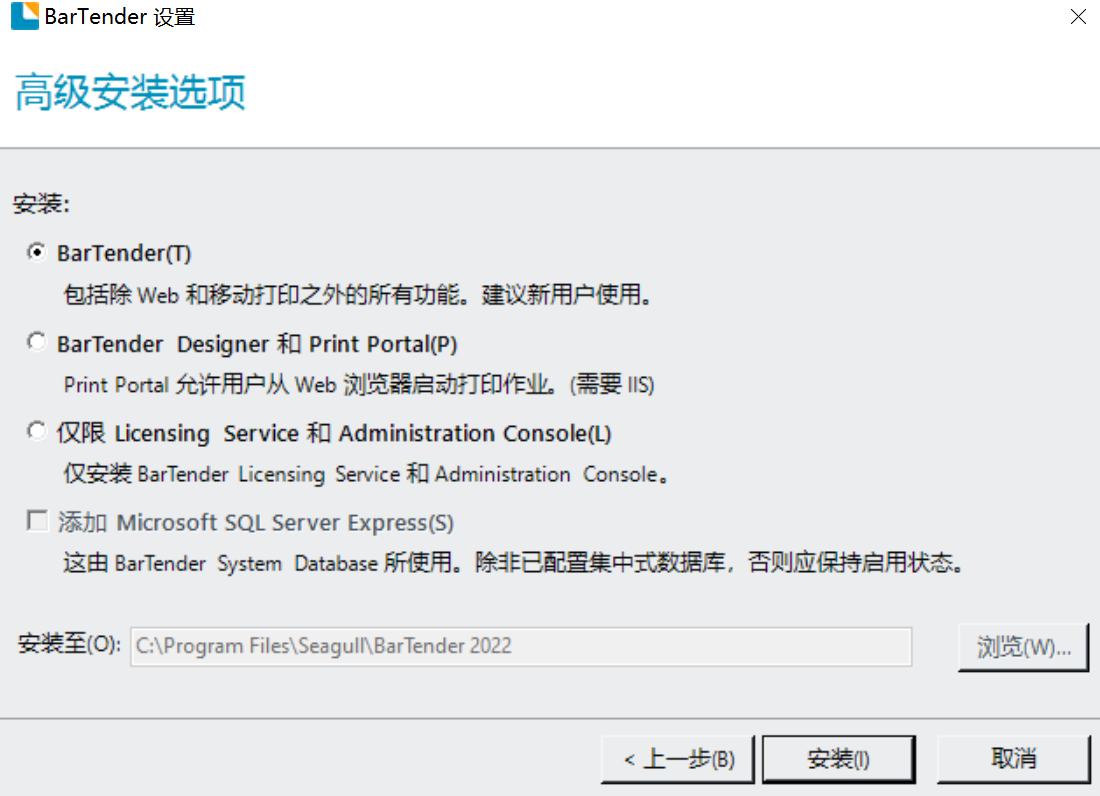
Module selection (click to enlarge)
For more details about the installation process, refer to Appendix II: BarTender (2022) Installation Process.
Edit Label Template
The label template defines the content and format of printed labels, and it can be edited using BarTender. The generator uses a default label template located in the the \\files\\matter directory. You may also customize this template to adjust the font, label size, or layout.
Note:
Do not modify the label template filename.
You can add or delete elements that are not bound to the data source, such as images, boxes, etc.
Do not add or delete named data sources.
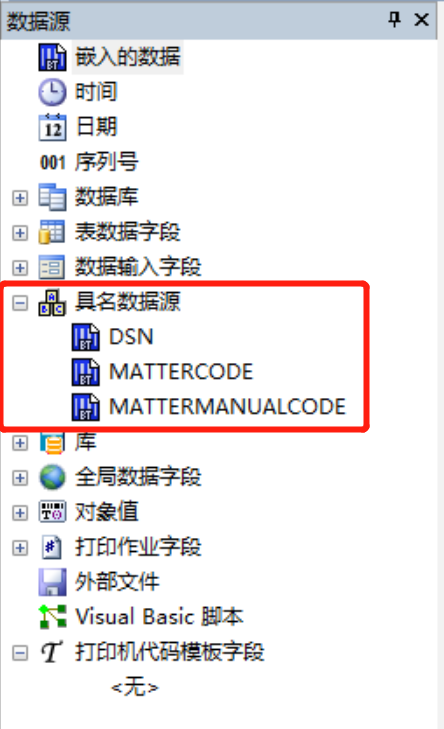
Named data sources in the template (click to enlarge)
The examples shown in the print interface are just static images. Your changes will not appear in the interface.
Tool Configuration
The configuration files are located in the directory configure/config.conf. You can open and edit them with Notepad.
Main Config |
Subitem |
Optional Value |
Description |
|---|---|---|---|
facConfig |
rssiLimit |
Recommended range: -30 ~ -80 |
The signal strength threshold that must be reached for surrounding products to be scanned before printing |
getMacType |
[devboard, scan] |
|
|
print_enable |
[0, 1] |
|
|
SerialConfig |
devPort |
COM* |
Scanning board serial port number |
devBaud |
115200 |
Scanning board baud rate |
|
v2_scanboard (only for V2 scanning boards) |
scan_timeout |
Default: 10 |
Scan timeout |
case_command |
2 |
Fixed value |
|
bartender |
version |
[2022, 2016] |
BarTender Software Version [1] |
Start Printing
Interface

Advanced Options (click to enlarge)
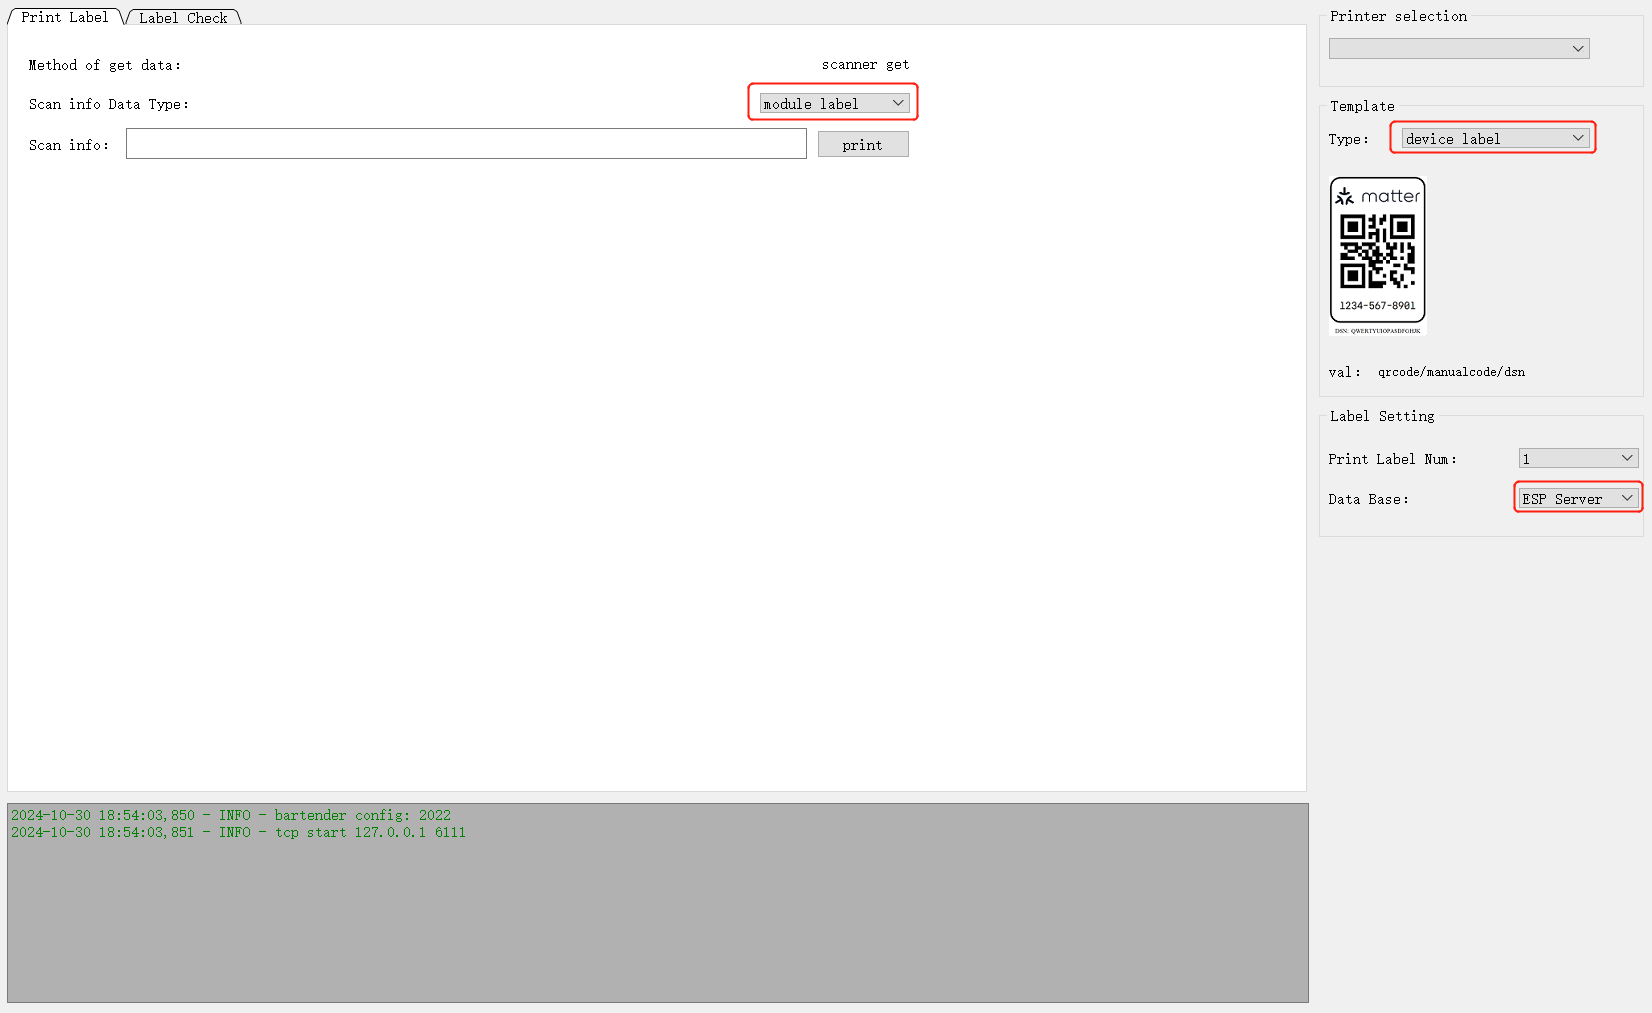
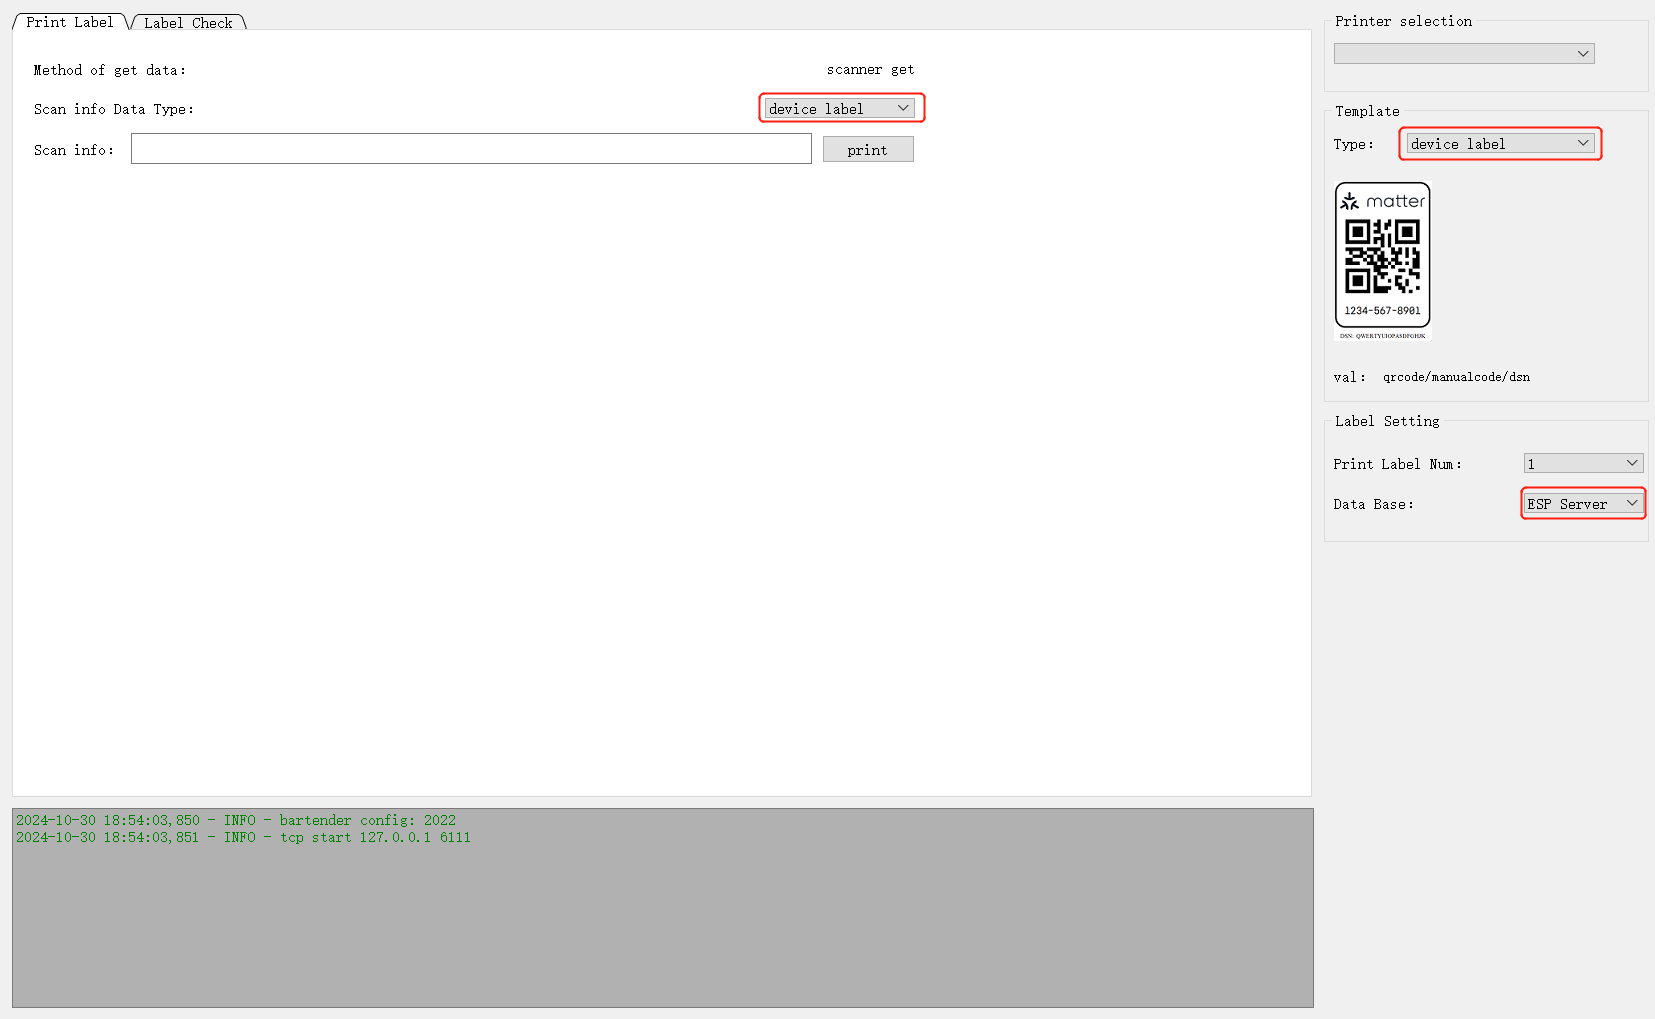
Interface Configuration
Printer selection: The system printer is displayed by default. You can select a printer as neededTemplate: Choose the template file used for printingMethod of get data: The method to get device informationScanner get: Use a barcode scannerScan info Data Type: The format of the content scanned by the barcode scannerModule label: QR code on the Espressif module shieldDevice label: The already printed device labelMAC: MAC address of Espressif products
BLE Broadcast: Use a scanning board
Print Label Num: The number of labels to print. The maximum is currently 6Data Base: Data sourceESP Server: Retrieve QR code data from Espressif serverLocal excel: Query data from a local table and copy it todata_source/matter_qrcode_data.xlsxin the required format:
Data storage format
Scanner data: Retrieve information from scanned data (Currently only supported by Cyprus, as its device broadcast comes with MAC and QR code information).
Common Printing Methods
Printing by scanning the shield QR code:
Print by scanning the shield QR code (click to enlarge)
Printing by scanning a printed label:
Print by scanning a printed label (click to enlarge)
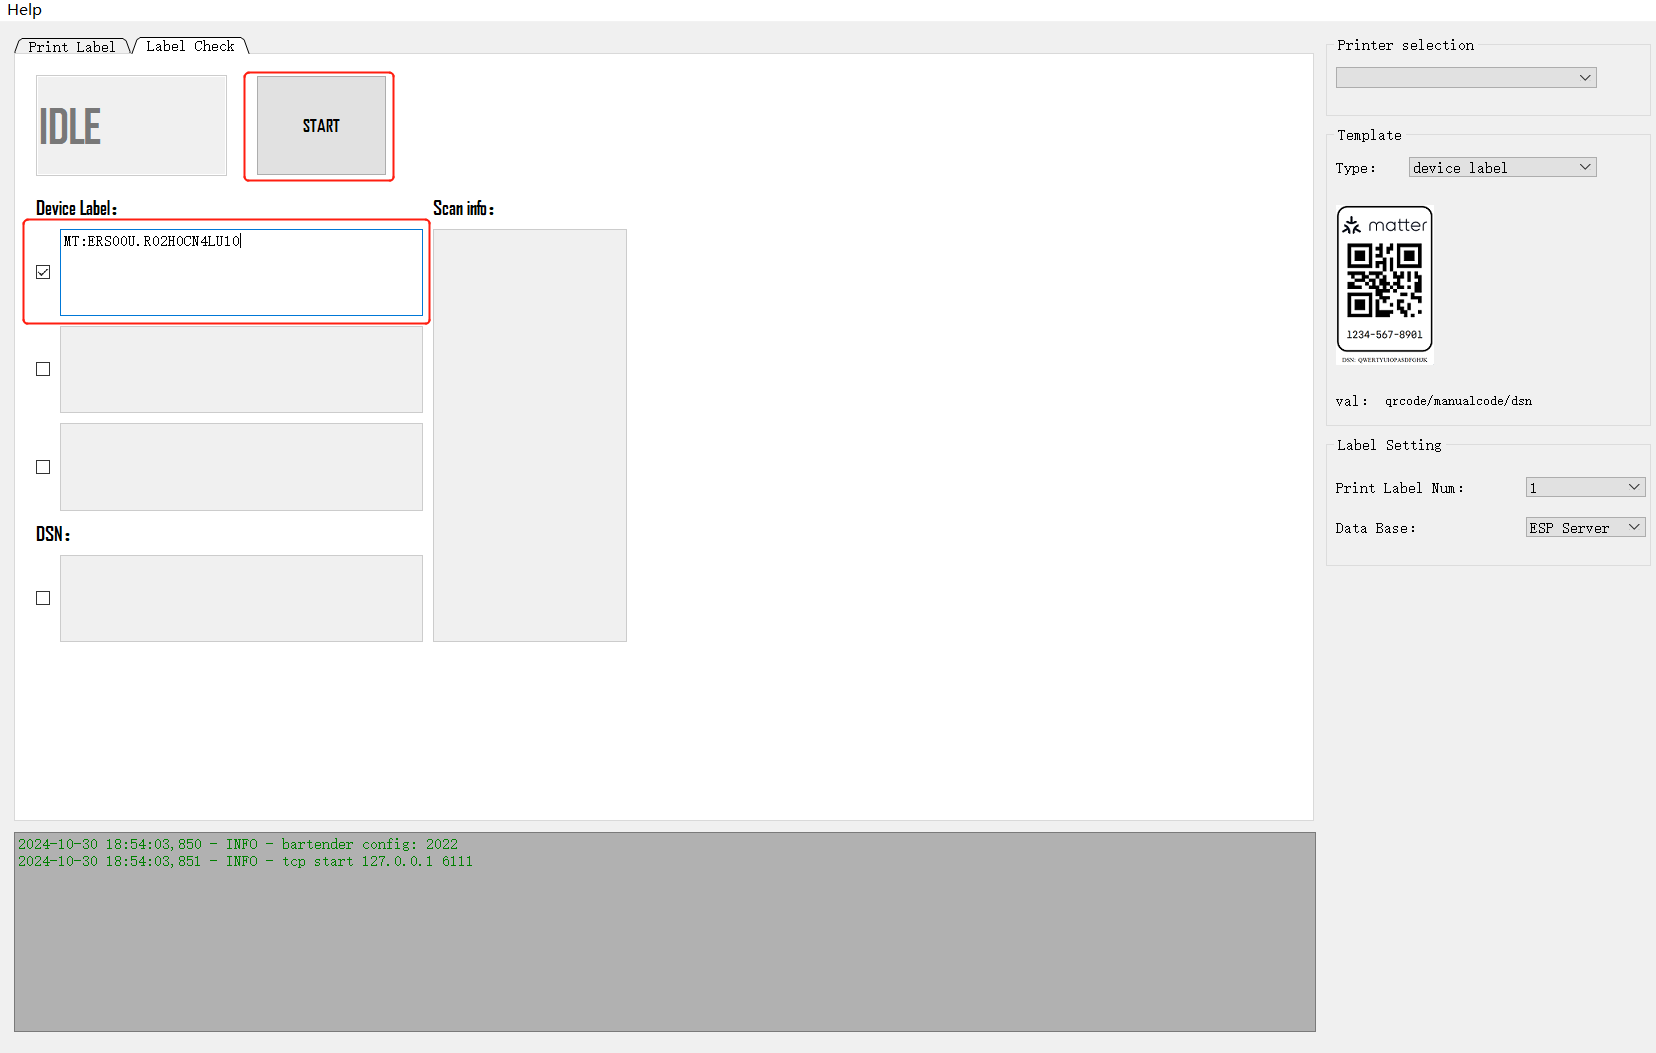
Check Printed Labels
The purpose of checking printed labels is to ensure that the device information matches the printed QR code. To do this, a scanning board is required to scan the device’s Bluetooth broadcast signal.
QR code check (click to enlarge)
To check the QR code, you need to use the configuration method of the scanning board, which corresponds to the
Method of get data:BLE boardcasein thePrint Labelinterface.In the configuration file
facConfig, setgetMacType = devboard.
Check the checkbox based on the number of device codes to be checked, so as to enable the corresponding number of device labels.
To perform a DSN check (only applicable for Cyprus), check the checkbox to enable this feature.
Integrate Laser Marking
Currently, the QR code can be obtained over LAN, enabling integration with the laser marking machine.
Configuration
Configuration Item |
Configuration Value |
Description |
|---|---|---|
server_enable |
1 |
Enable LAN for QR code retrieval |
ip |
127.0.0.1 |
LAN address. If the laser marking host and this host are on the same PC, the loopback address can be used |
port |
6000 |
TCP communication port |
qr_req_string |
get_qrcode |
The command to request QR code. This can be adjusted based on the configuration of the laser marking machine |
manual_req_string |
get_manualcode |
The command to request manual code. This can be adjusted based on the configuration of the laser marking machine |
dsn_req_string |
get_dsncode |
The command to request dsn code. This can be adjusted based on the configuration of the laser marking machine |
Appendix I: Flash Scan Board Firmware
To flash the scanning board firmware, the ESP32-C3 series development boards are required. Select the development board based on your needs.
bin file path:
./filesFlash address:
0x0
Flash tool download: Click here to download the flash tool
Appendix II: BarTender (2022) Installation Process
The following figures show the whole process of BarTender installation (Take BarTender 2022 as an example):
Check the advanced installation option checkbox.
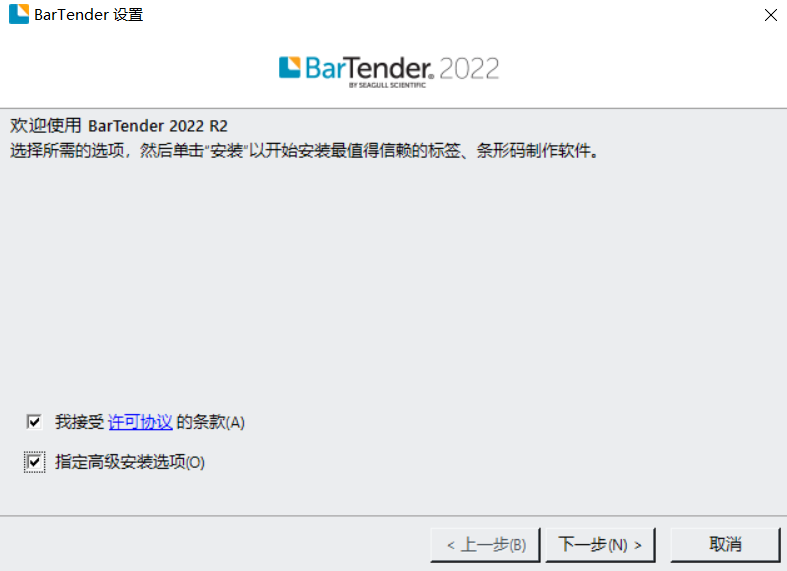
Choose advanced installation options (click to enlarge)
Use the default installation path.
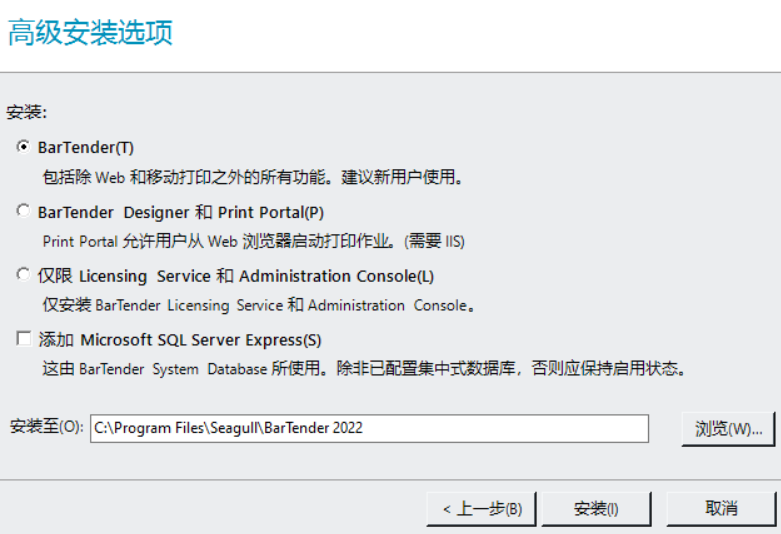
Default installation path (click to enlarge)
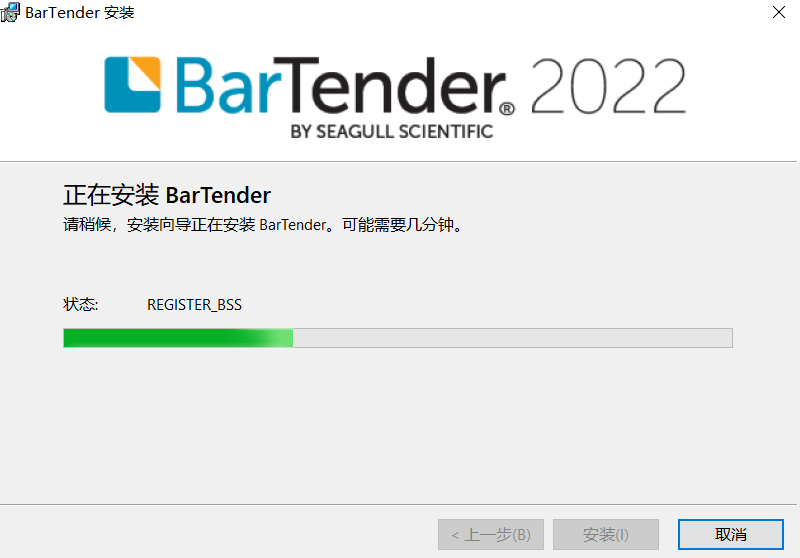
The installation process is as follows.
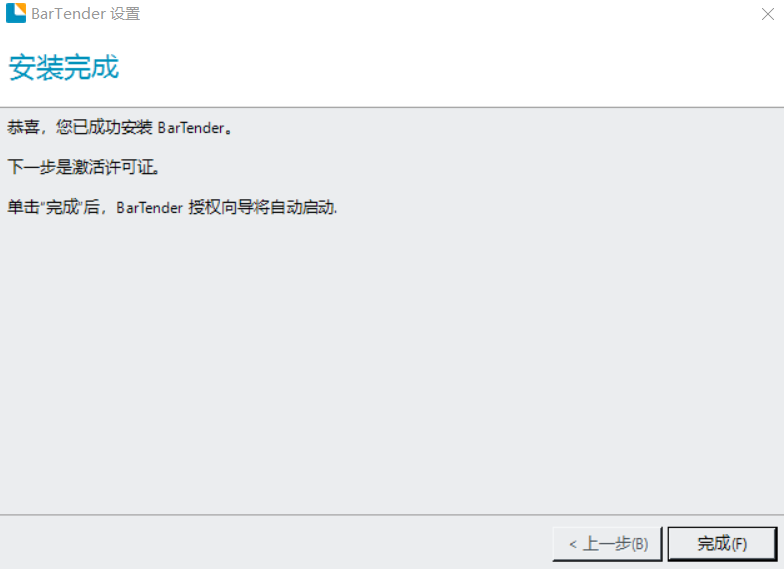
Enter the serial number to activate BarTender.
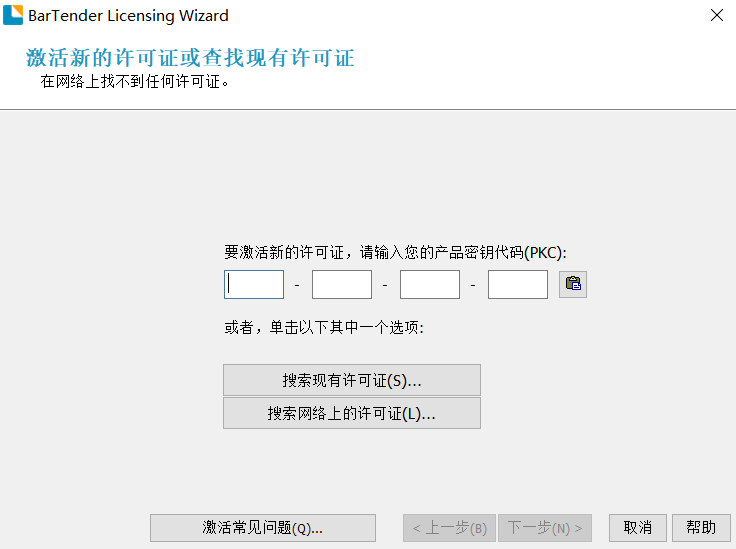
Enter serial number (click to enlarge)