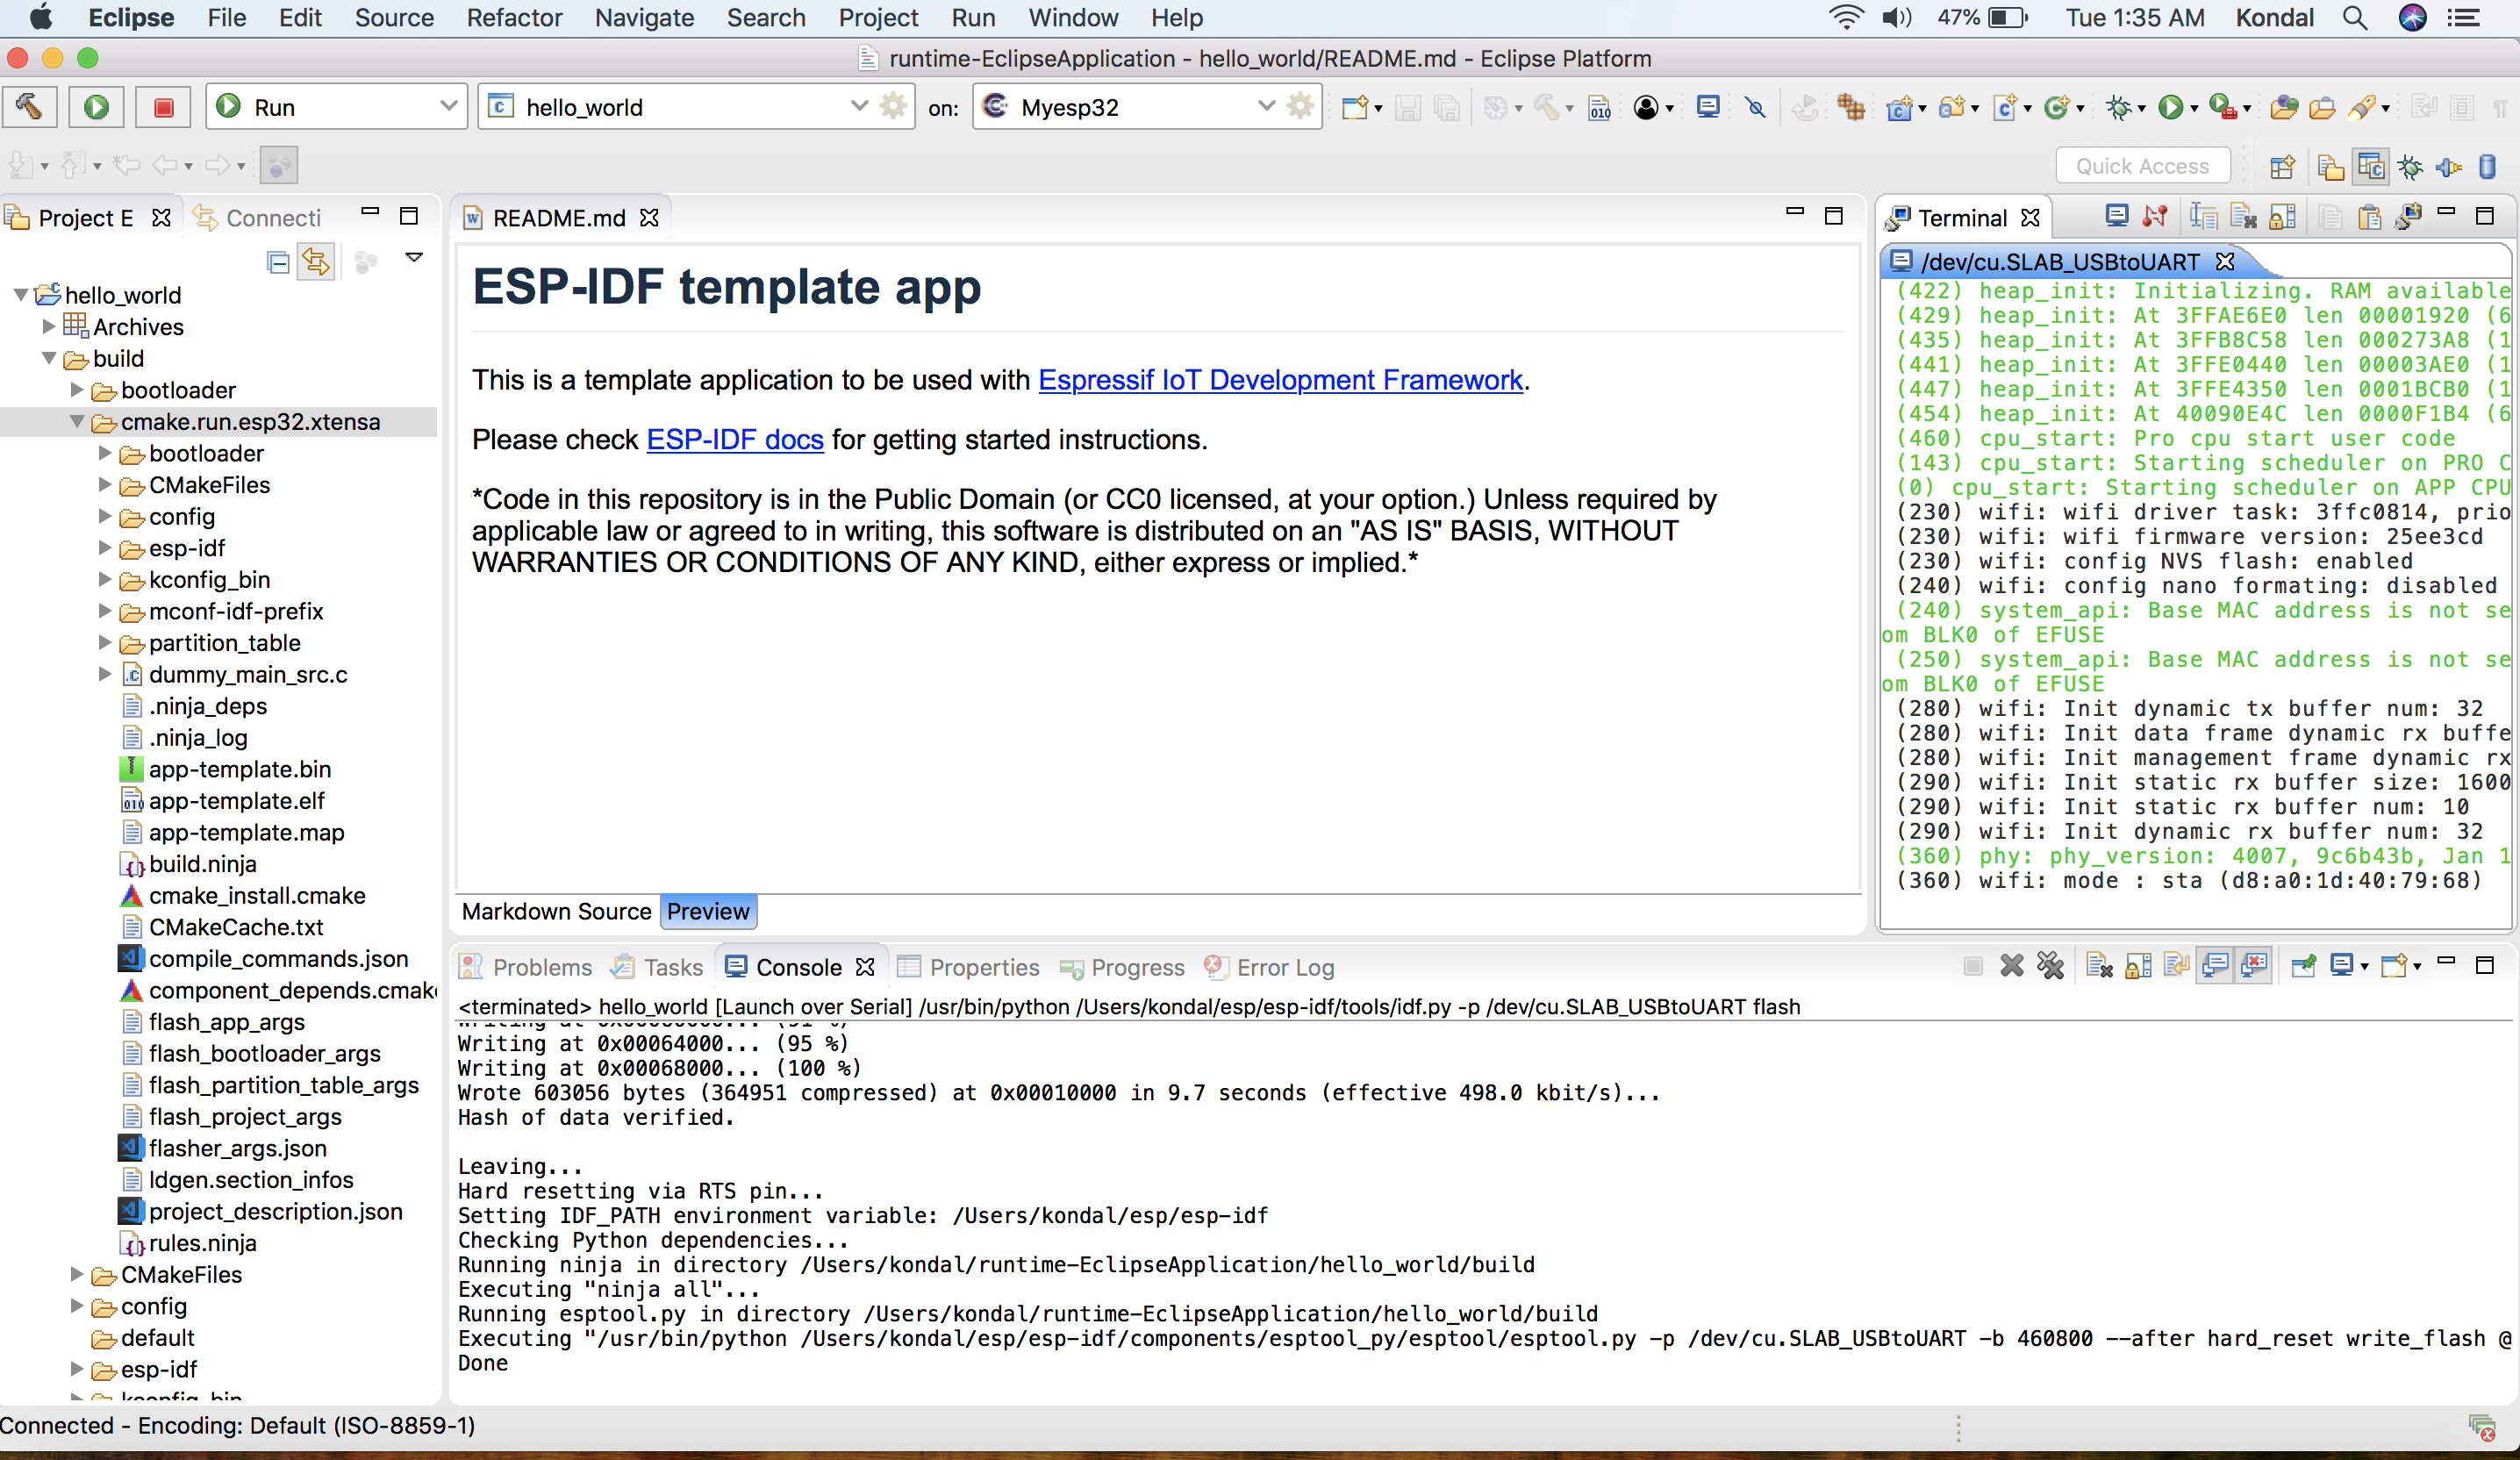
Flash the Device
You can start the flash operation by clicking the launch button  . The process is automatically configured to flash the application using the default command:
 idf.py -p PORT flash.
To provide customized flash arguments, please refer to this guide.
To enable flash encryption, please refer to Flash Encryption.
To configure flashing via JTAG, please refer to JTAG Flashing.
Customize Flash Arguments
To provide the customized launch configuration and flash arguments, follow the steps below:
Click on the
Launch Configurationedit button.Switch to the
Maintab.Specify the
Locationwhere this application has to run. Sinceidf.pyis a Python file, configure the Python system path. Example:${system_path:python}.Specify the
Working directoryof the application. Example:${workspace_loc:/hello_world}.In the
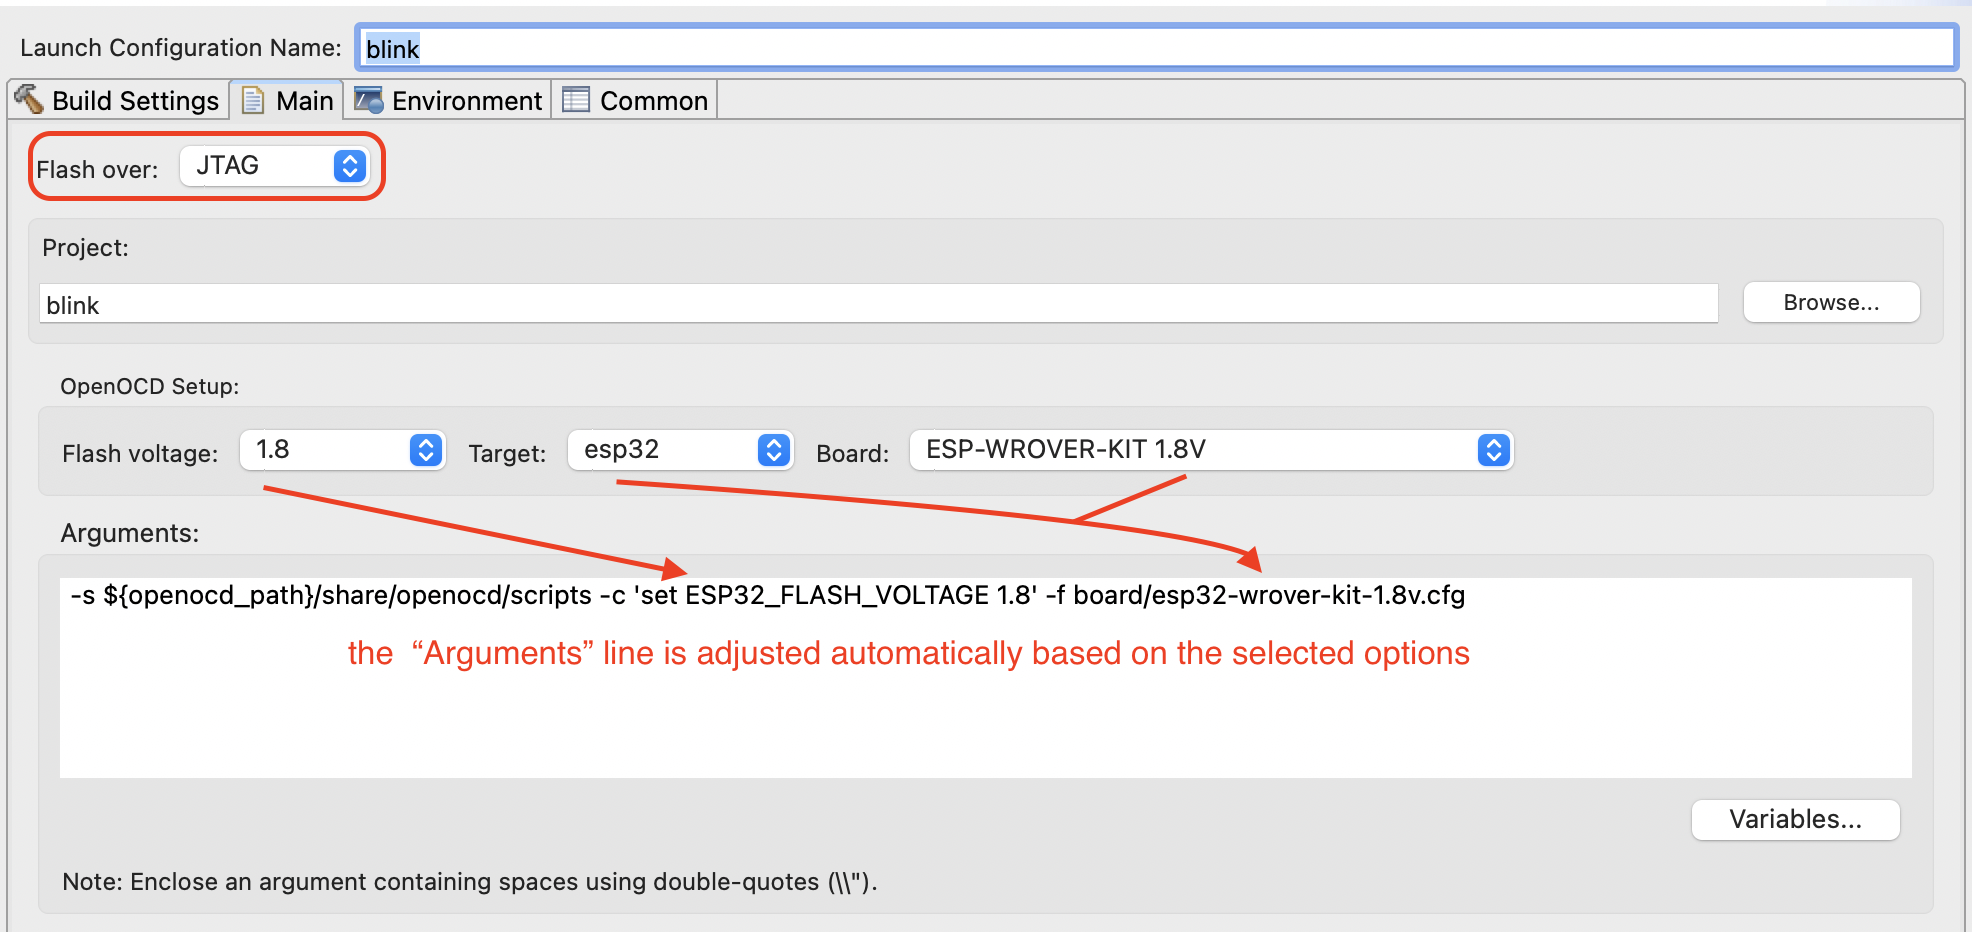
Argumentsfield (see1in the image), the default value uses dynamic variables:${IDF_PY} -B ${BUILD_DIR} -p ${serial_port} ${flash_command}This default setup automatically adapts to your project and board, so usually no manual changes are needed.
Use the
Previewicon (see2in the image) to switch between showing resolved values and the raw dynamic variables.The field is modifiable only when dynamic variables are shown (not resolved).
If you are migrating from an older plugin version and the field does not contain dynamic variables, click
Restore defaults(see3in the image) to reset it.
Click
OKto save the settings.Click on the
Launchicon to flash the application to the selected board.

Flash Encryption
Warning
Enabling flash encryption is an irreversible operation. If configured incorrectly, the board may become permanently unusable. Proceed with caution and only enable this option if you fully understand its implications.
To enable flash encryption in ESP-IDF, follow these steps:
Open
sdkconfigand enable theEnable flash encryption on bootoption.
Perform a normal flash of the application.
Open the
Launch Configurationdialog, edit the configuration, and check theEnable Flash Encryptionbox.
Flash the application again.
Once enabled, flash encryption will automatically secure the contents of the flash memory according to ESP-IDF settings.
For more details, please refer to the official Flash Encryption documentation.
Upload Application via JTAG
The default method for uploading applications is UART. To switch to JTAG, edit the launch configuration of your project and select the appropriate option.
To do so, select your project in the launch configuration bar and click on the gear icon to edit the launch configuration:

Then select the Flash Over JTAG option and complete the OpenOCD Setup section.
If the Flash Over JTAG option is not available, and you see a message like this:
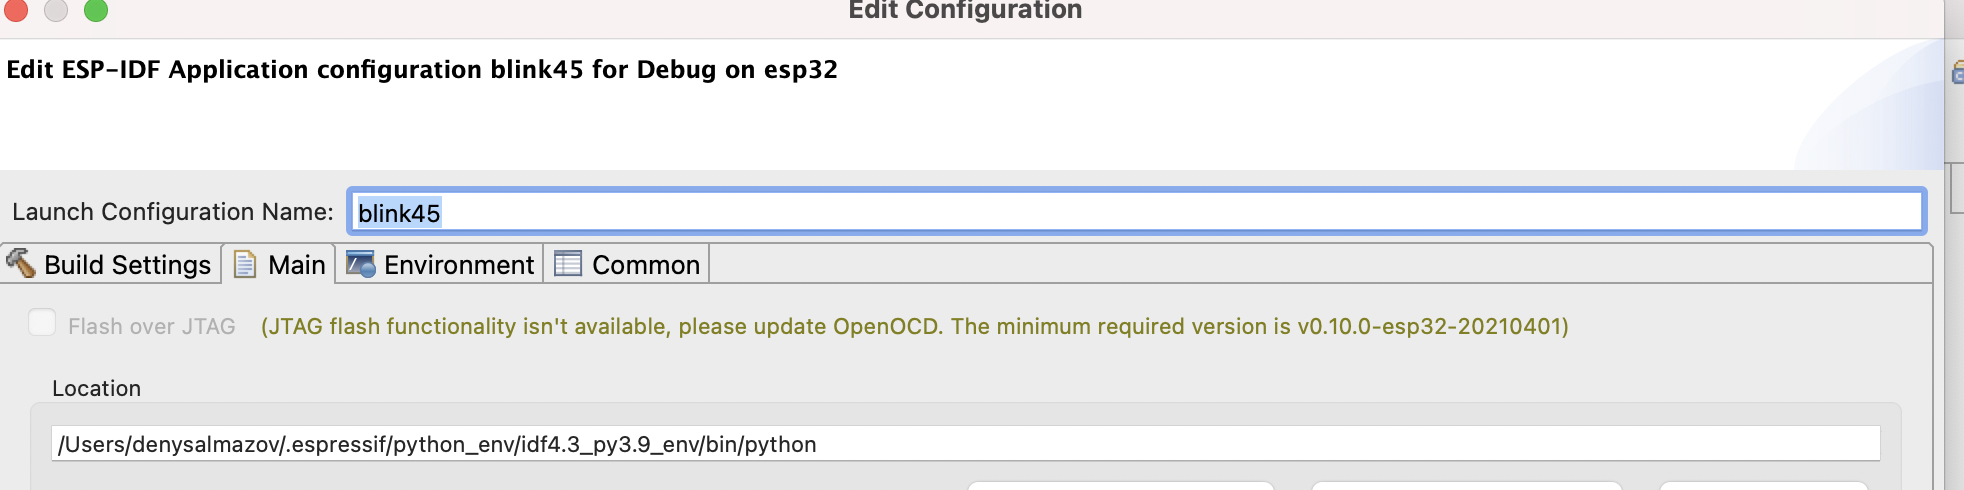
It means that OpenOCD needs to be updated. You can find the latest OpenOCD version on the openocd-esp32 GitHub page.
Providing the Right Path for OpenOCD
After downloading the necessary OpenOCD version, extract it to a new folder in the .espressif/tools/openocd-esp32/.
Follow these steps:
Download the required v0.10.0-esp32-20201202 version or a higher one for JTAG flashing.
Go to
.../.espressif/tools/openocd-esp32/, create a new folder namedv0.10.0-esp32-20201202, and extract OpenOCD there.The resulting path to OpenOCD might look like:
.../.espressif/tools/openocd-esp32/v0.10.0-esp32-20201202/openocd-esp32/....
After completing this, update the OPENOCD_SCRIPT environment variable in Eclipse:
Go to
Eclipse>Preferences>C/C++>Build>Environment.Edit the
OPENOCD_SCRIPTSvariable by providing the correct path to theopenocd/scriptsfolder.The path to the OpenOCD scripts may look like this:
.../.espressif/tools/openocd-esp32/v0.10.0-esp32-20201202/openocd-esp32/share/openocd/scripts.