Start Your Project
To get started with the Espressif-IDE, you can create a new project or import an existing project.
Create a New Project
To create a new Project in the Espressif-IDE, follow the steps below:
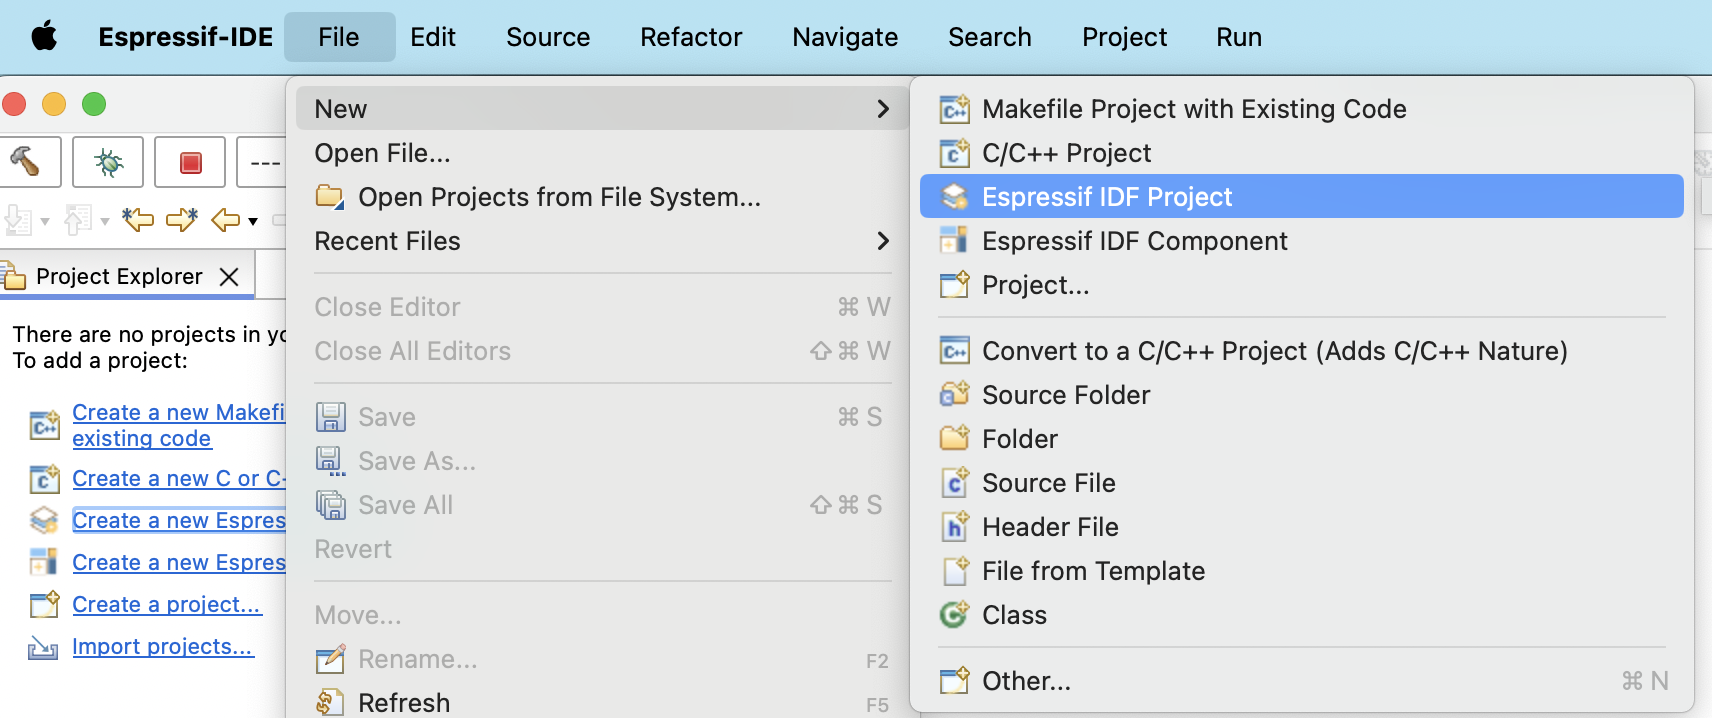
Go to
File>New>Espressif IDF Project.
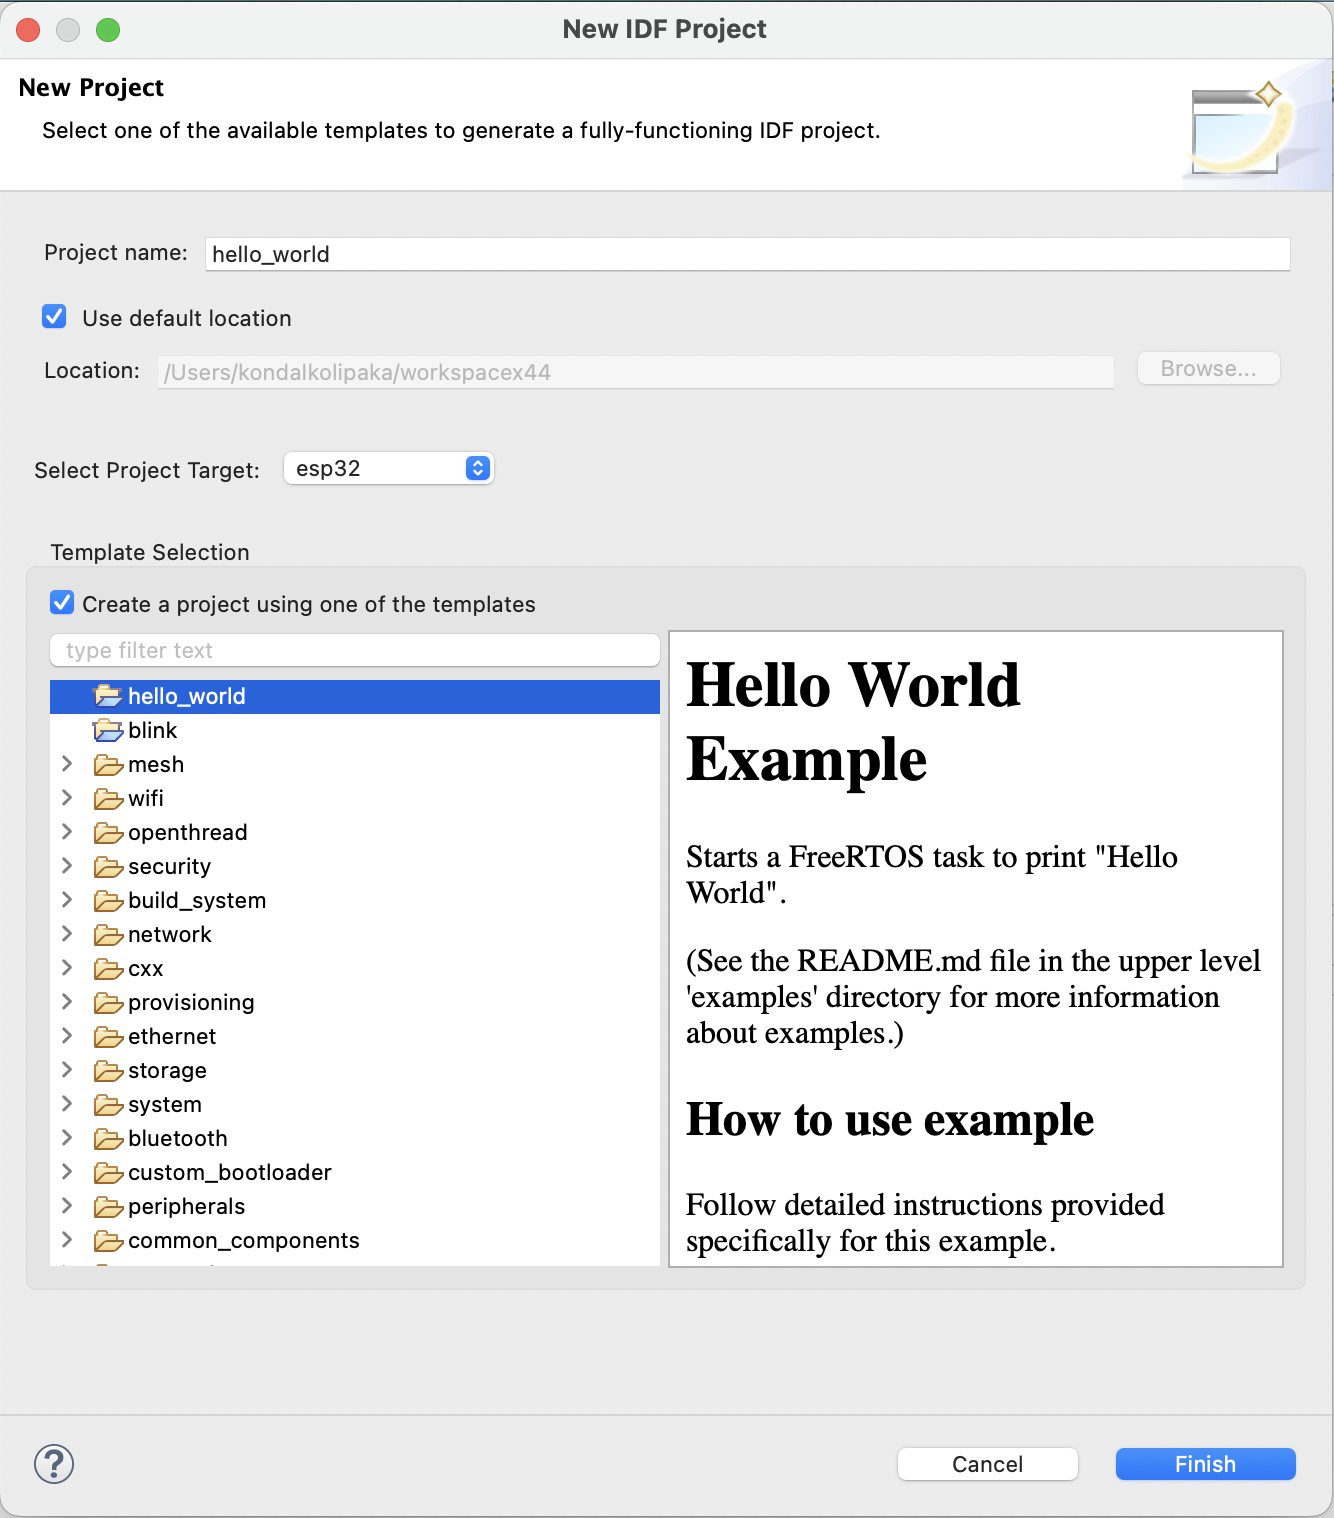
Provide the
Project name.Click
Finish.
Note
The ESP-IDF build system does not support spaces in the paths to either ESP-IDF or to projects.
Create a New Project Using ESP-IDF Templates
Espressif‑IDE also allows you to create a project from ESP‑IDF templates, which can be accessed by following the steps below:
Go to
File>New>Espressif IDF Project.Choose a target board from the
Select Project Targetdropdown.Click on
Create a project using one of the templatesfrom theTemplate Selectionsection.Select the template you want to use and that automatically fills the project name based on the template selected.
Click
Finish.

Note
You may see numerous unresolved header and symbol errors in the editor. These will be resolved only after the build process.
Import an Existing Project
To import an existing project into the Espressif-IDE, please make sure that is a CMake project. Follow the steps below:
Right-click the
Project Explorer.Select
Import..Menu.Select
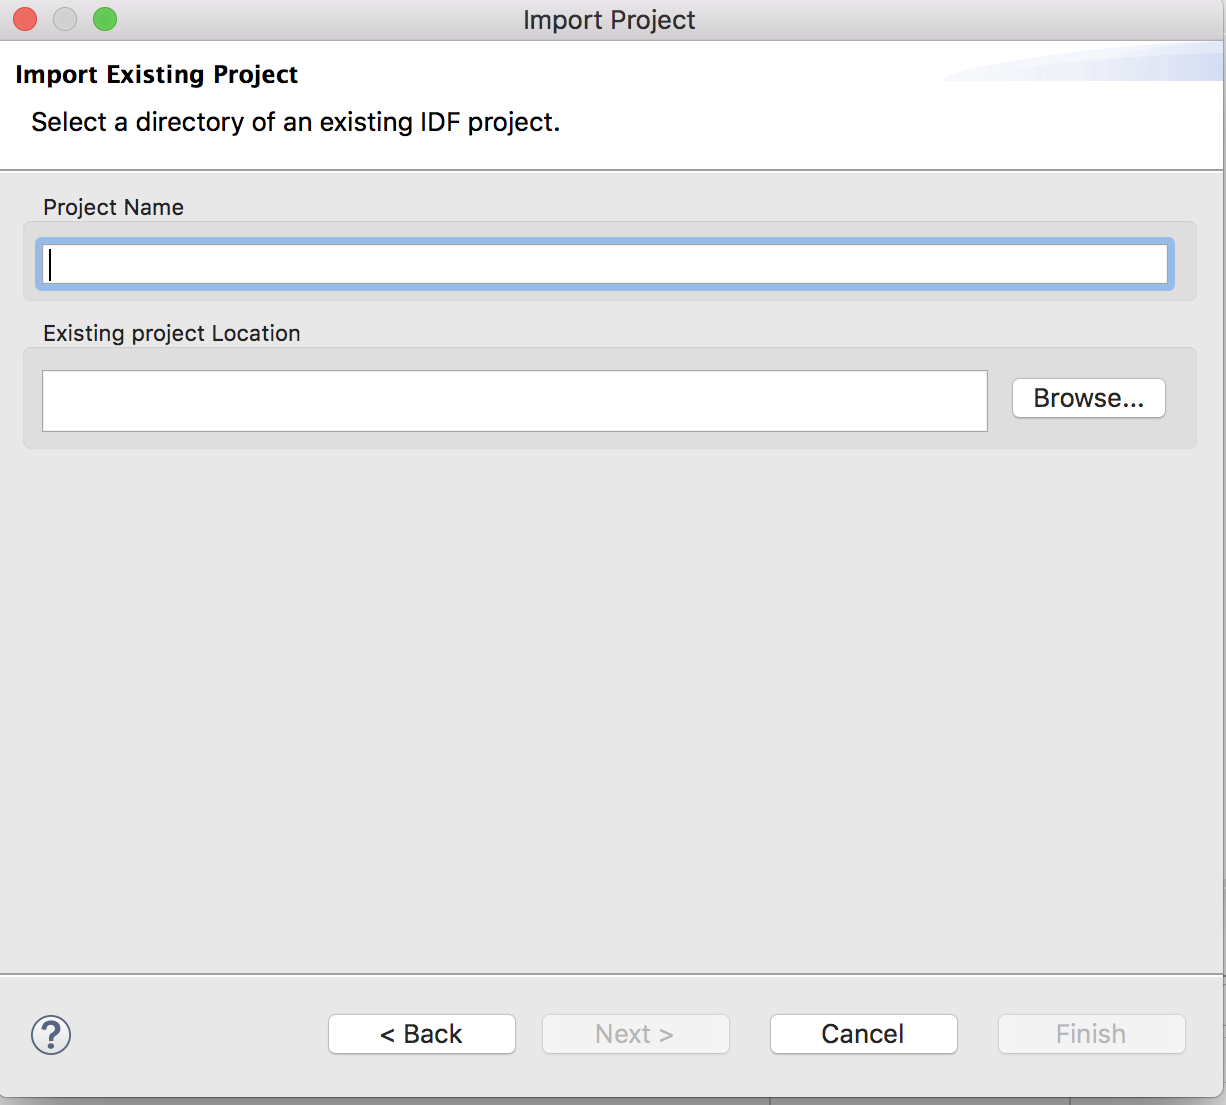
Existing IDF ProjectfromEspressifimport wizard menu list.Click
Next.Click on
Browse...to choose an existing project location directory.Provide
Project nameif you wish you have a different name.Click
Finishto import the selected project into Eclipse workspace as a CMake project.
