Installation
Configuring and installing the Espressif-IDE involves three main steps:
Note
For Eclipse CDT users who prefer installing the ESP-IDF Eclipse Plugin via the update site, please refer to the Update Site Installation Guide.
Espressif-IDE Installation
To begin, navigate to the section below corresponding to your operating system, and follow the provided instructions to install the Espressif-IDE.
Please note that the Espressif-IDE requires that you install ESP-IDF via Espressif Installation Manager (EIM) to manage the ESP-IDF versions and tools. For detailed documentation on using the EIM, please refer to the official guide.
Windows/macOS/Linux
Download the Espressif-IDE for your respective operating system from the download section. After downloading, launch the IDE and proceed to install the necessary ESP-IDF and related tools. Please ensure that Java, Python, and Git are installed as prerequisites and are available in the system path before launching the IDE.
ESP-IDF and Tools Installation (New Workspace)
The Espressif-IDE provides a tool manager view that allows you to activate available ESP-IDF versions and manage related tools. To install the ESP-IDF and its tools, first download the EIM from the following link.
After downloading and launching EIM, follow the on-screen instructions to install the required ESP-IDF version and associated tools. Once the installation is complete, you can use the ESP-IDF Manager within the IDE to activate the installed ESP-IDF version in the workspace. The Espressif-IDE allows you to download and launch the EIM directly from the IDE, making it easier to manage your ESP-IDF versions and tools. When you open a workspace created with an old version of Espressif-IDE, the IDE will prompt you to convert its configuration to be compatible with EIM.
Follow these steps inside the Espressif-IDE to install the ESP-IDF and related tools:
Go to
Espressif>ESP-IDF Manager. The following editor will open: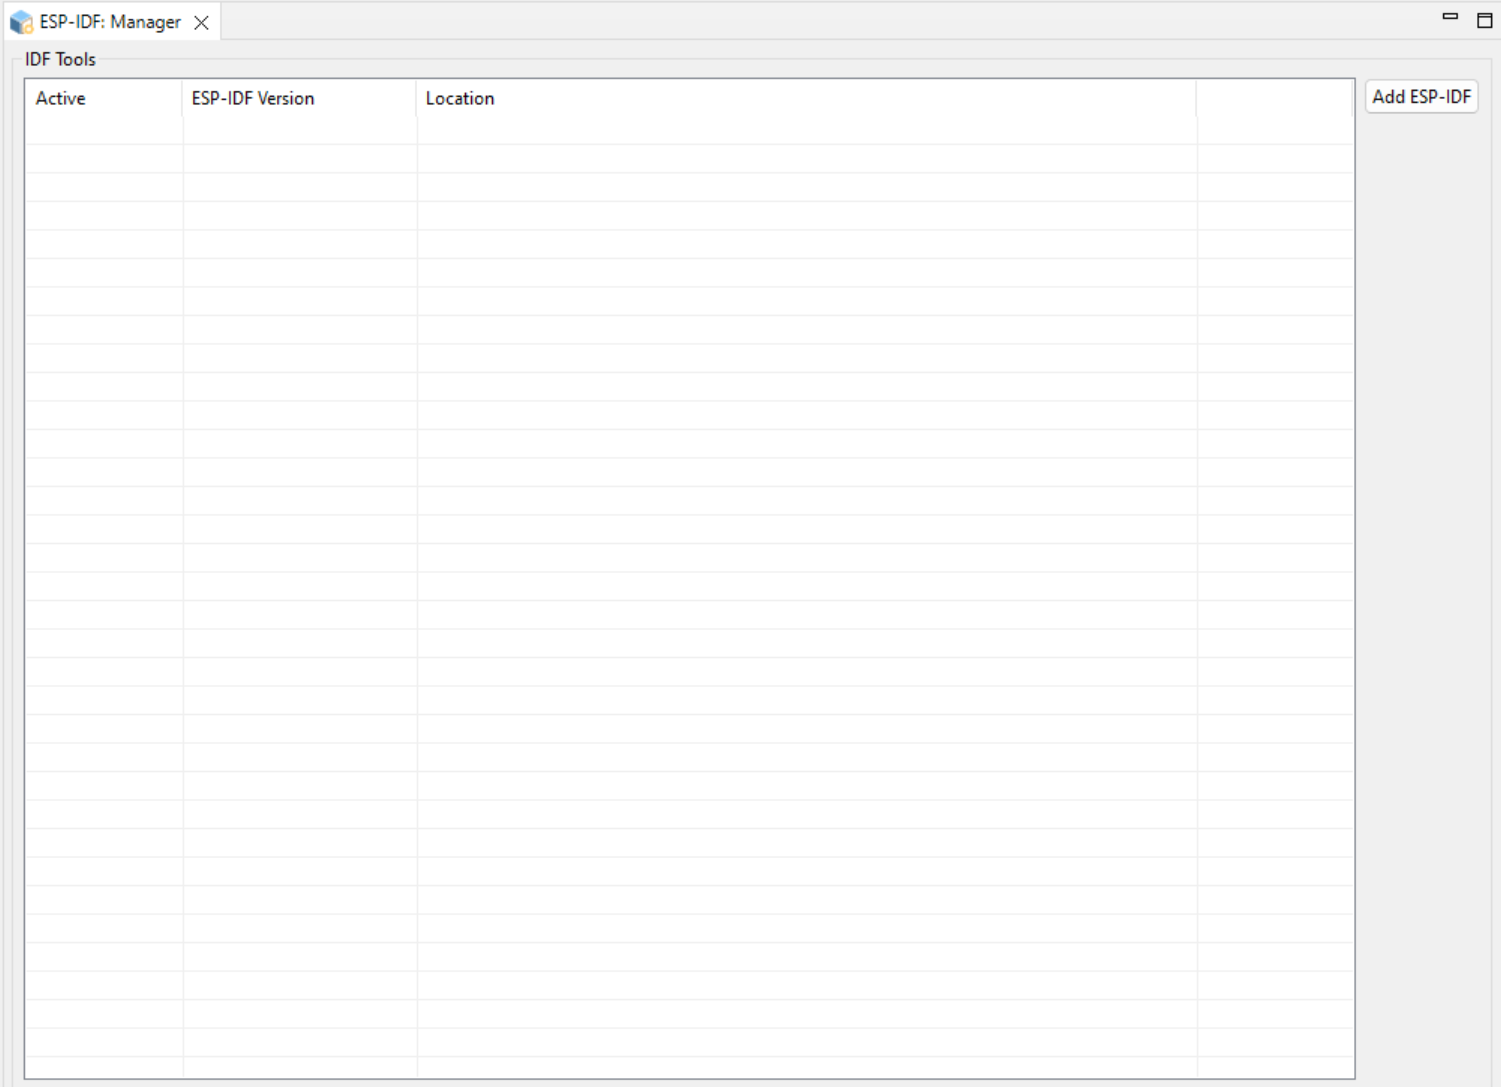
Click the
Manage ESP-IDF Versionsbutton if you have not downloaded and installed EIM.You will see the progress of download and installation in the console. Once the EIM is launched, you can use it to install the ESP-IDF and related tools.
Once you close the EIM, your ESP-IDF Manager editor will be updated with the latest information about the ESP-IDF versions and tools available.

Note
Please note that the EIM will be the only tool going forward to manage the ESP-IDF versions and tools. Previous versions of the Espressif-IDE managed tools internally, but now all access to ESP-IDF is handled through the EIM.
You can add as many versions of ESP-IDF as you want via EIM, but only one version can be set as active, and that version will be used to compile and index projects in your workspace. This feature helps you switch between versions in the workspace easily.
To activate a specific version of ESP-IDF, double-click on the corresponding row. Alternatively, you can select the row and click Activate Selected.
The refresh button in the last column for the active ESP-IDF version can be used to reload any changes in the ESP-IDF directory you made.
Note
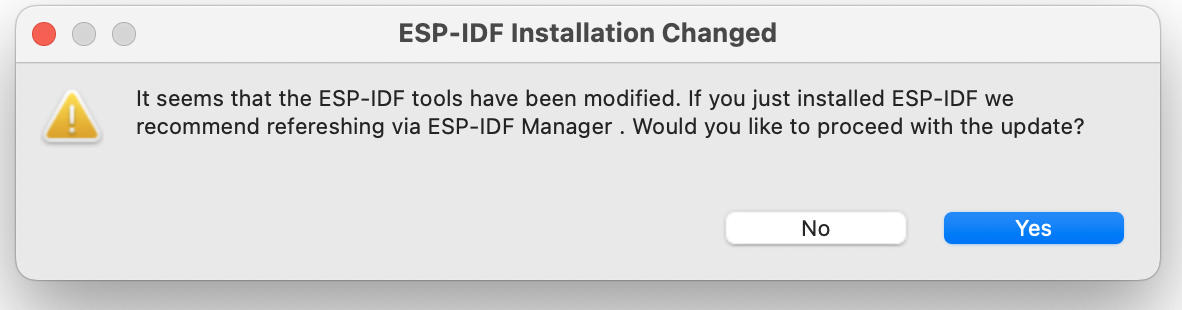
Any manual changes made to the ESP-IDF directory will not be reflected in the IDE until you refresh the active ESP-IDF version using the refresh button. However, if you made any changes to the installation of ESP-IDF using the EIM, those changes will be detected and a popup message will be shown to you to update the ESP-IDF version in the IDE.
eim_idf.json path
EIM stores your ESP-IDF installs in a file named eim_idf.json. By default it is here: Windows — C:\\Espressif\\tools\\eim_idf.json; Linux / macOS — ~/.espressif/tools/eim_idf.json.
If you installed ESP-IDF or tools to a custom location, EIM may write eim_idf.json under that layout instead. The IDE only checks the default path above, so it will not see your setup until you point it at the real file: Window > Preferences > Espressif > ESP-IDF Installation Manager settings — use Browse (or type the path) for Path for eim_idf.json file; the file name must be eim_idf.json. Leave empty to use the default only. More detail: EIM documentation.
Old-to-New Workspace Migration
If you are migrating from an old version of the Espressif-IDE, you will need to convert your existing workspace to be compatible with the new ESP-IDF Manager. You will need to download and install the EIM from the following link. After installation of the EIM, please follow the steps below:
Place the downloaded EIM executable in the appropriate location according to your operating system:
Windows: C:Users<username>.espressifeim_guieim.exe
Linux: ~/.espressif/eim_gui/eim
macOS: Copy the
eim.appbundle to yourApplicationsfolder, for example /Applications/eim.app.
Open the Espressif-IDE. If it is already running, restart the IDE.
After the IDE detects the EIM executable and a valid old workspace, it will prompt you to convert the old workspace to the new format.
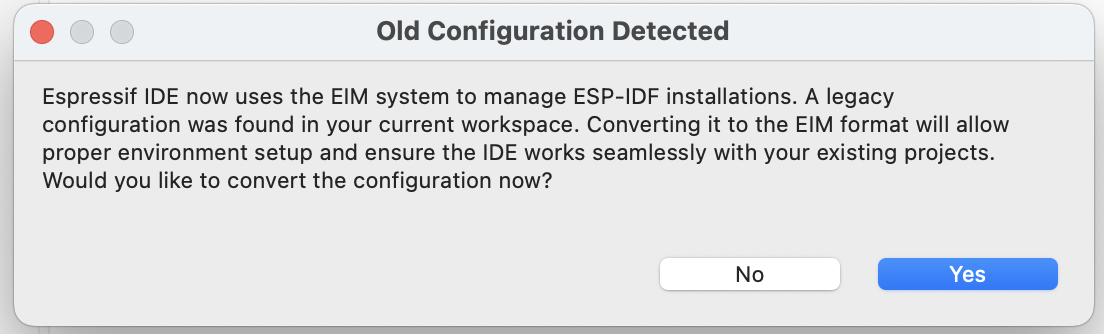
Click the
Yesbutton to convert the old configuration.Now in Espressif-IDE, go to
Espressif>ESP-IDF Manager. The ESP-IDF Manager editor will open, and you can proceed to select and activate the ESP-IDF version you want.