Using Docker Container
This tutorial demonstrates how to use the IDF Docker Image to enable idf.py flash and idf.py monitor within a container. To achieve this, configure the serial ports to pass from the host Windows machine to WSL.
Warning
USB passthrough is not yet supported on macOS. To connect to an Espressif device’s serial port from a Docker container on macOS, consider Using Remote Serial Port. The RFC port can be manually defined in the idf.port configuration setting for the ESP-IDF: Flash your Project command to work.
This tutorial guides you on developing projects using Visual Studio Code + ESP-IDF extension + ESP-IDF Docker Image.
Required Tools
Install the following tools before starting the project:
Windows WSL (see installation steps below)
Other tools are defined in the project’s Dockerfile and will be included in the container.
Docker Desktop
Docker Desktop is an application for macOS and Windows that builds and shares containerized applications. For more details, refer to Docker get started documentation. Here, Docker is used to import and manage the ESP-IDF Docker Image, including starting, restarting, and closing it.
Note
The default installation path for Docker is the C drive. Use mklink commands to move it to another drive if space is limited on the C drive.
Installing Ubuntu on Windows for Docker
If WSL is not installed, run:
wsl --install
Update the WSL kernel with:
wsl --update
Check the available WSL distributions using the Powershell command prompt:
wsl -l -o
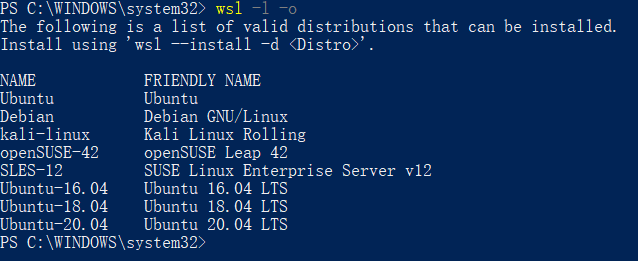
To install a Ubuntu distribution in WSL on Windows, type the following command:
wsl --install --distribution Ubuntu
usbipd-win in Docker
To access USB, serial, and JTAG devices from the local Windows system, you must install usbipd-win. Without it, downloading, monitoring, and debugging on the IDF Docker image is not possible. The installation process is similar to other Windows applications and will not be detailed here.
After installing the necessary tools, perform the following configurations.
Check WSL Ubuntu on Windows for Docker
Verify that the current WSL version is 2.
wsl -l -v
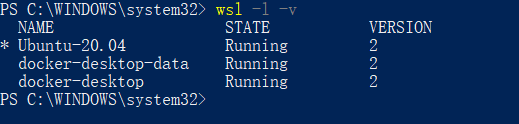
If the version is not 2, upgrade to version 2.
wsl --set-version Ubuntu 2
Set the Ubuntu distribution as the default.
wsl -s Ubuntu
Finally, verify that above commands have taken effect using the
wsl --statuscommand.
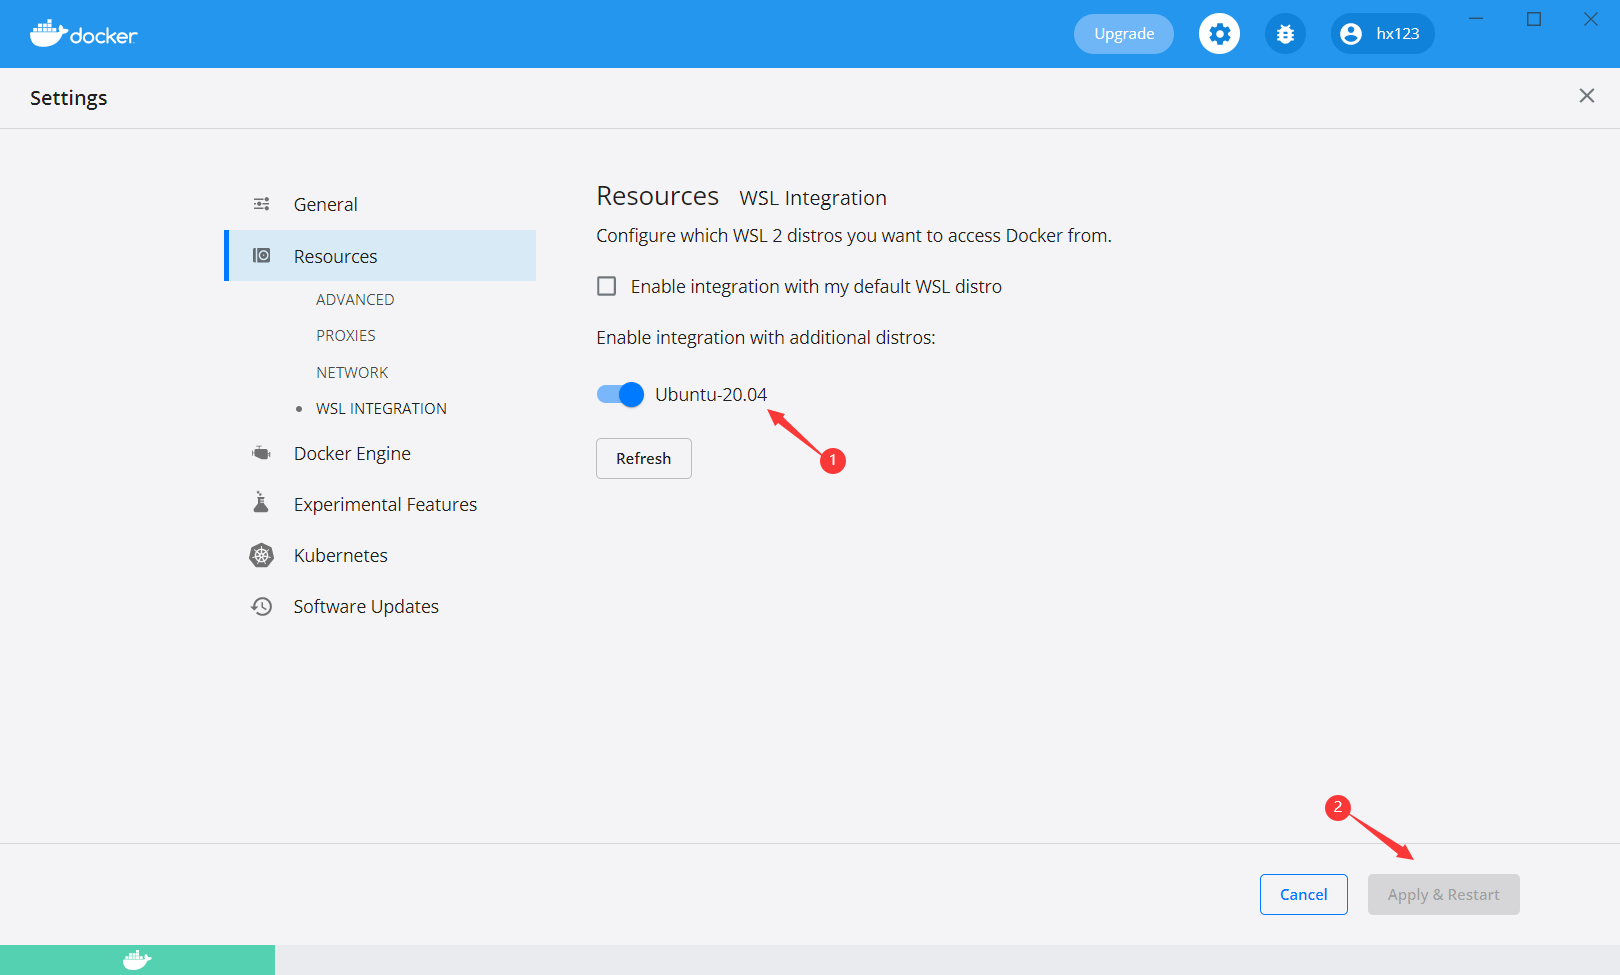
Docker Desktop for Windows
As the Ubuntu distribution has been updated to version 2, adjustments on the Docker side are required, and Ubuntu should also be chosen as the default WSL integration.
Install
usbipdin the PowerShell command prompt.winget install usbipd
Configure the USB serial device to connect to WSL using
usbipd.Open the PowerShell command prompt with administrator rights and then enter the following command to get a list of USB serial devices.
usbipd list
To access a specified device from Windows on WSL locally, bind the device with
usbipd. Open the PowerShell command prompt with administrator rights and enter the following command.usbipd bind --busid <BUSID>
Note
Use this command only once unless the computer restarts. 1-1 is the device’s
<BUSID>you want to bind.After binding, attach the specified device to WSL with the following command in the PowerShell command prompt. The
--auto-attachparameter ensures the device remains visible in the container after unplugging and replugging.usbipd attach --wsl --busid <BUSID> --auto-attach
Finally, verify the connection on the WSL side by entering the following command.
dmesg | tail

As shown above, the 1-1 device is attached to
ttyACM0, indicating that WSL can now access the 1-1 USB device.
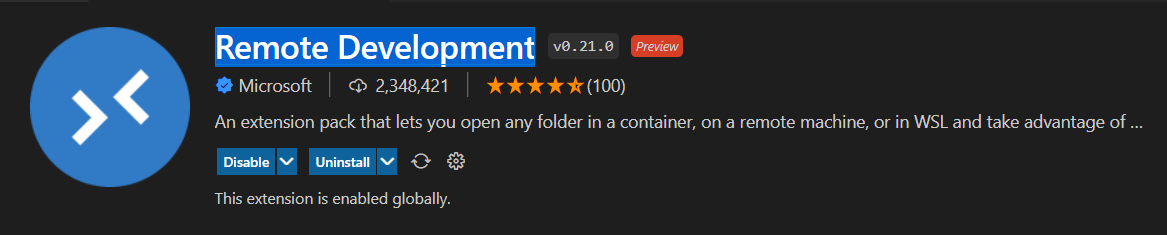
Install Remote - Containers extension in Visual Studio Code
Install the Dev Containers, Remote Development, and ESP-IDF extensions as shown below.

Practice
After completing the previous steps, the WSL or Docker container should be ready for use. Here is an example to demonstrate how to utilize these tools.
Example Project with Docker Container
Take Blink and Hello_world projects as examples, you can place additional example projects in the same folder and mount them together in the IDF Docker image. This approach saves disk space, as creating a separate container for each example project is inefficient.
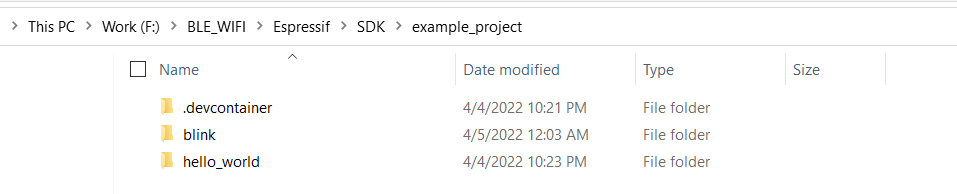
As shown in the snapshot above, the Blink and Hello_world example projects are in the same folder. You only need to open this folder with VS Code.
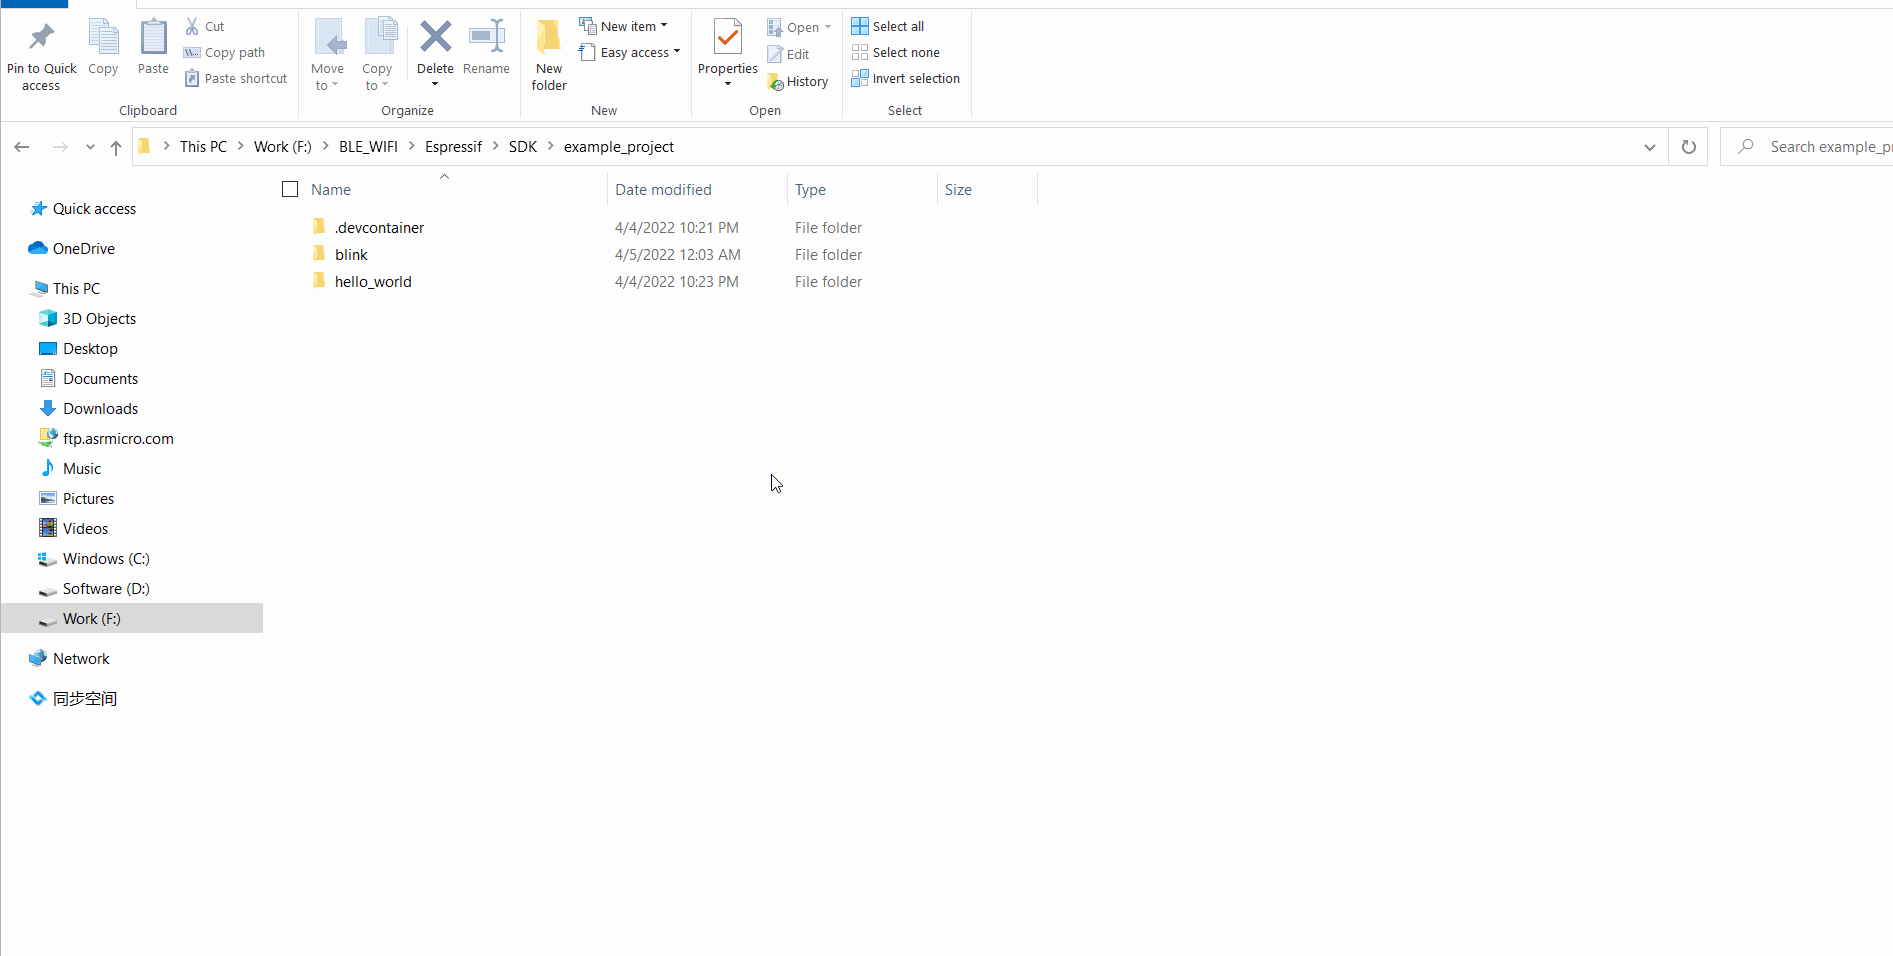
Observe that there is a .devcontainer folder in the example_project folder, which is not included by default. This is generated using the ESP-IDF extension of VS Code to create and configure the ESP-IDF Docker image for container development.
To generate your own .devcontainer folder content, follow these steps:
Open the example project with VS Code and go to
View>Command Palette.In the pop-up dialog box, search for the
ESP-IDF: Add Docker Container Configurationcommand.The
.devcontainerfolder will be generated for the currently opened project.
For more information about devcontainer.json, please refer to the comments.
{
    /* A name for the dev container displayed in the UI */
    "name": "ESP-IDF",
    /* container name when creating container */
    "image": "espressif/idf:latest",
    /* mount the local folder to /workspaces folder of Docker image */
    "workspaceMount": "source=${localWorkspaceFolder},target=/workspaces/project-name,type=bind",
    /* the path of workspace folder, which means that this folder will be opened after container is running
    */
    "workspaceFolder": "/workspaces/project-name",
    /* mount the VS Code extensions to the target path, and then they don't need to be installed again when rebuilding the container
    */
    "mounts": [
        "source=extensionCache,target=/root/.vscode-server/extensions,type=volume"
    ],
    /* follow the commands of Dockerfile to create the container
    */
    "build": {
        "dockerfile": "Dockerfile"
    },
    /* Machine specific settings that should be copied into the container
    */
    "settings": {
        "terminal.integrated.defaultProfile.linux": "bash",
        "idf.gitPath": "/usr/bin/git"
    },
    /* An array of extensions that should be installed into the container. */
    "extensions": ["espressif.esp-idf-extension"],
    /* start the container with privileged mode, otherwise the devices cannot be accessed on the Docker image.
    */
    "runArgs": ["--privileged"]
}
All related configurations are now complete.
Create a Container
To create a container and begin development, click the
><button at the bottom left of VS Code. Select Open Folder in Container to initiate the container creation.Note
The first time you run the process, it may be slightly slow because the ESP-IDF Docker image needs to be downloaded.
Open the
Blinkexample project. To switch to another project, change the path from"workspaceFolder": "/workspaces/blink"to"workspaceFolder": "/workspaces/<ProjectName>", where<ProjectName>is the name of the desired project. Then, re-selectOpen Folder in Container.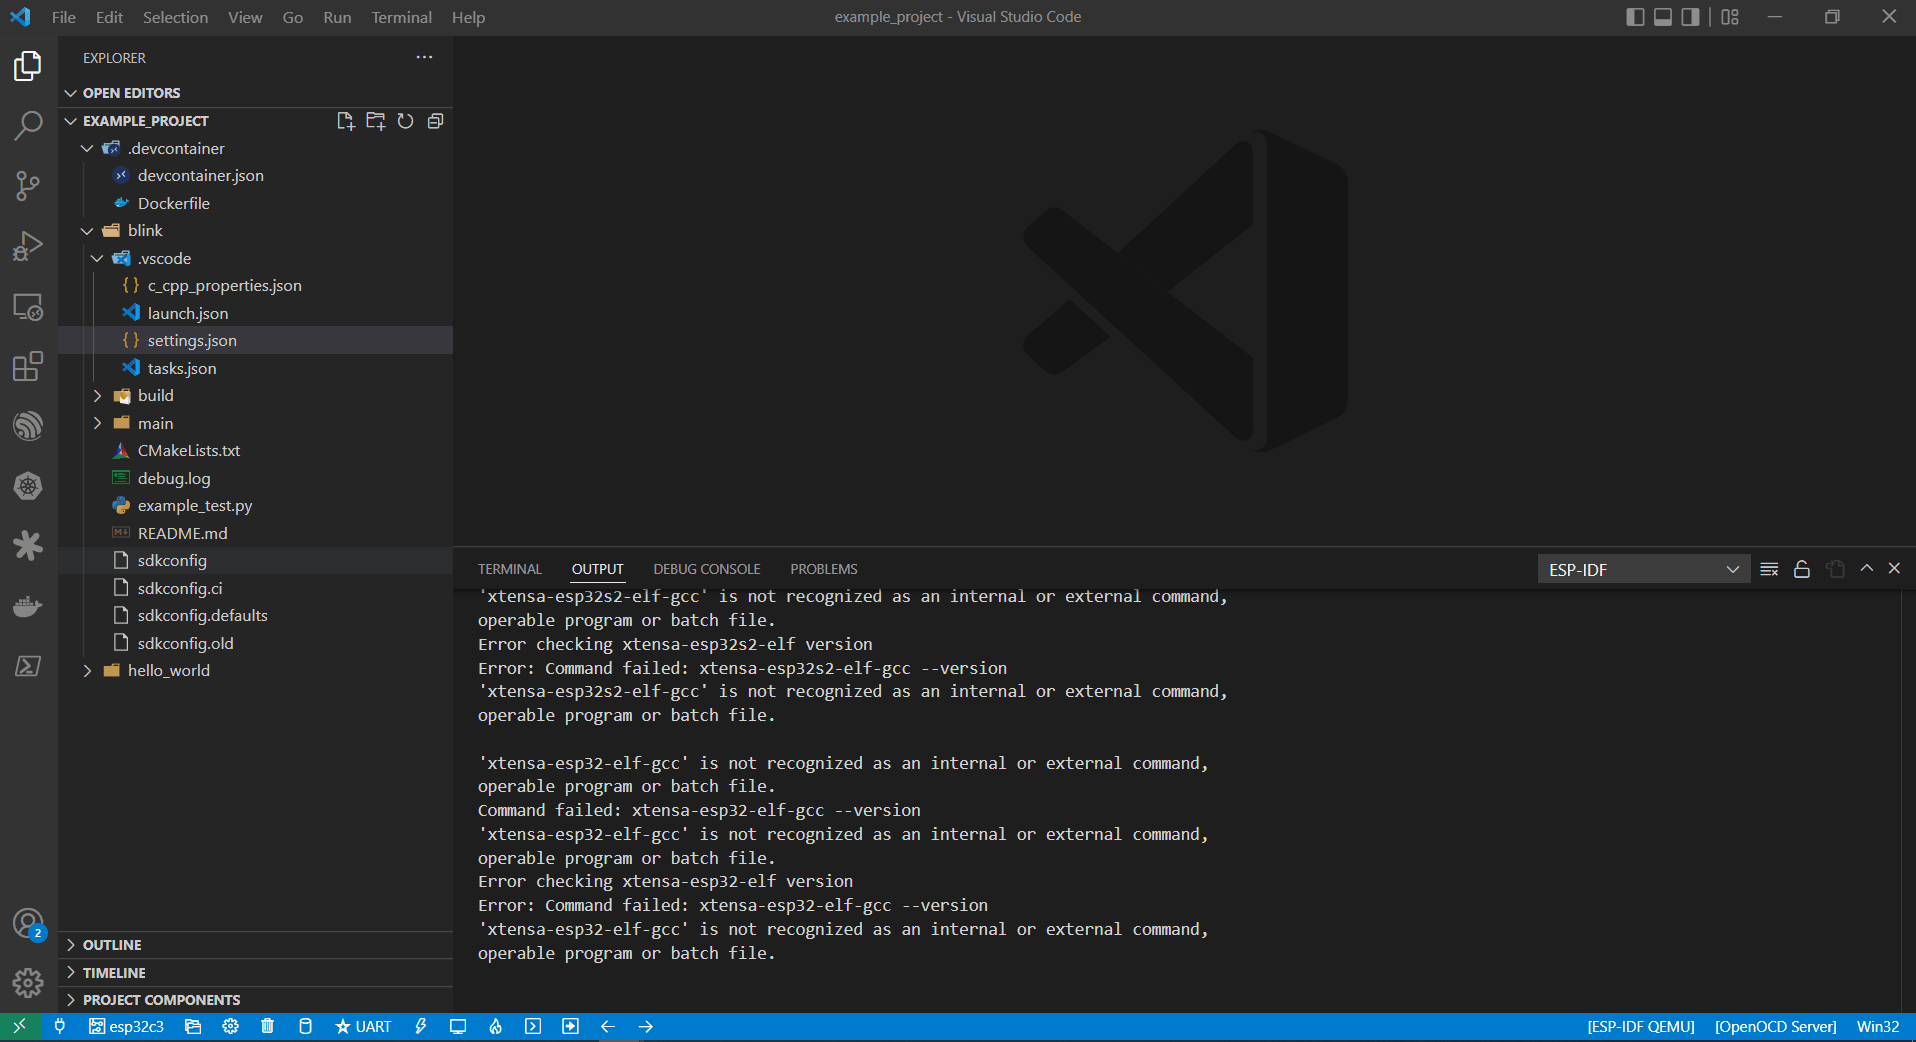
At this moment, you can start to use the
Blinkexample project for building, flashing, monitoring, debugging, etc.Warning
To access the serial port from the Docker container, ensure the device is attached with
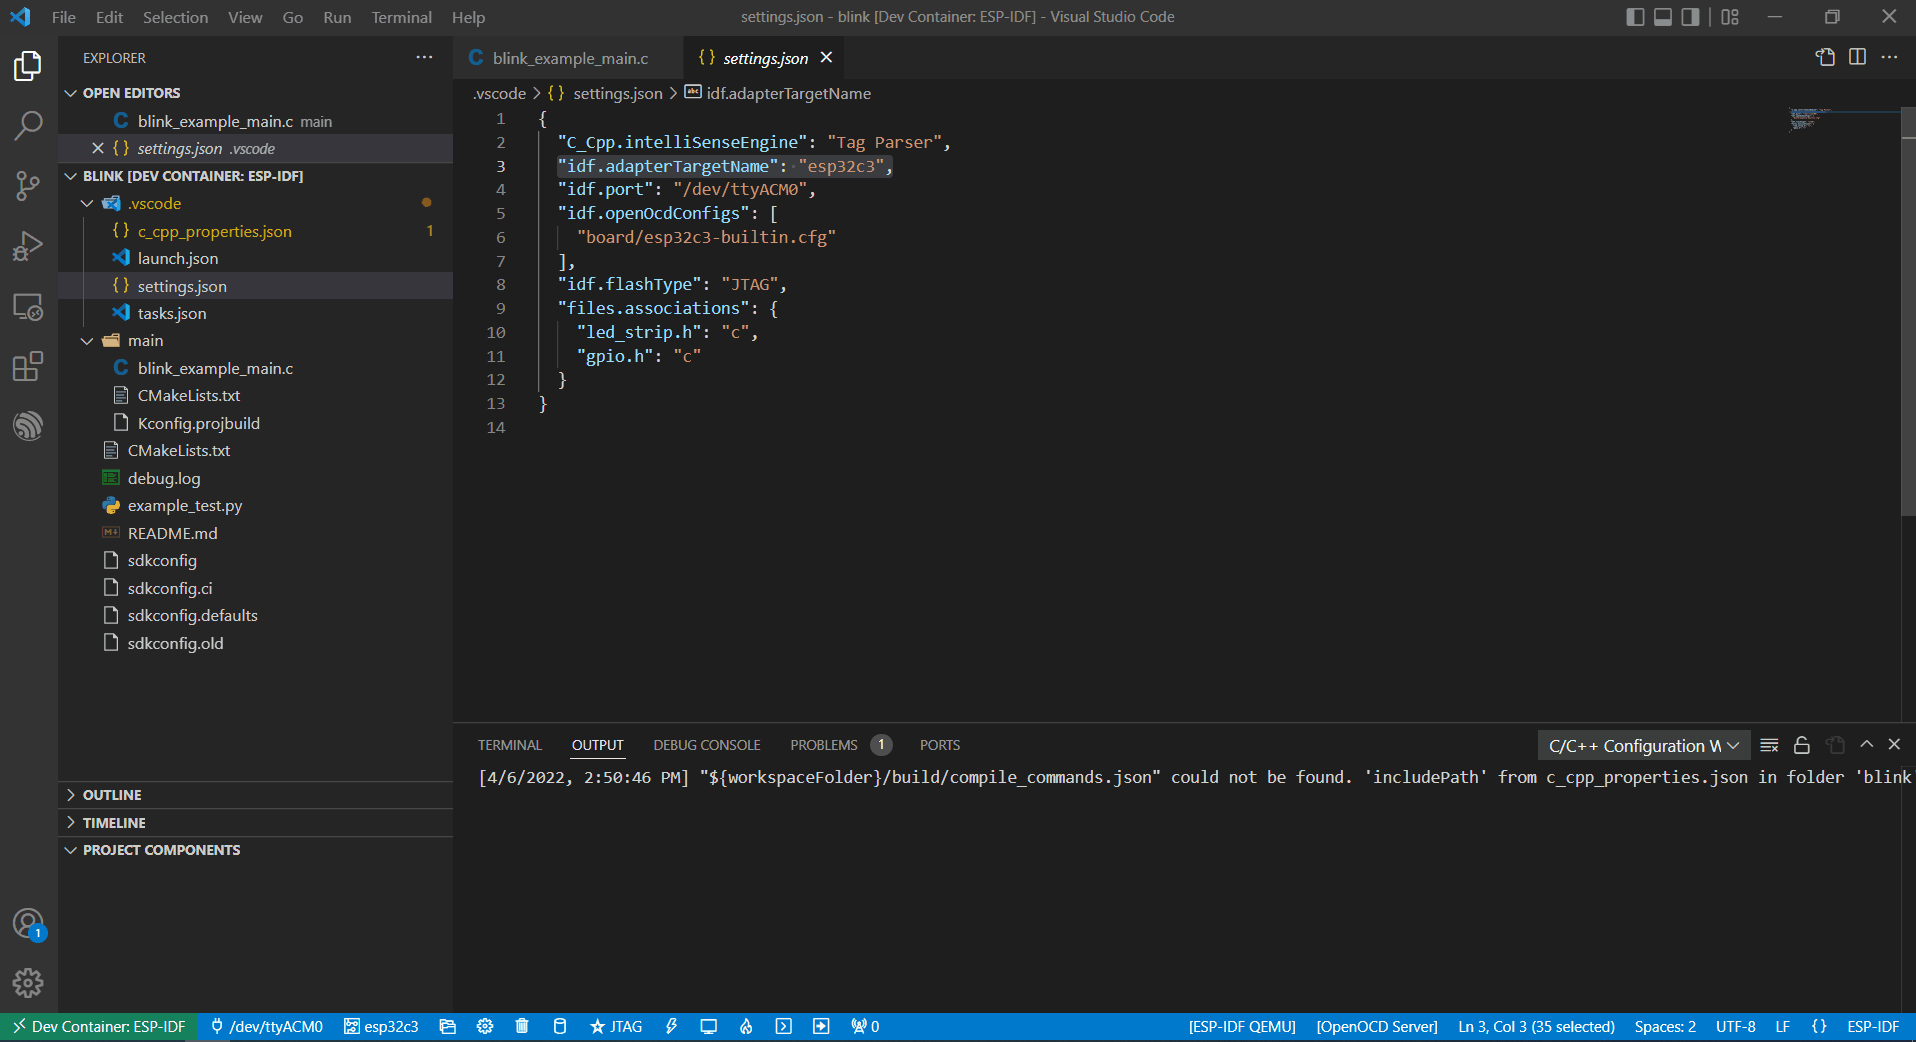
usbipd attach --wsl --busid <BUSID> --auto-attachbefore opening the folder in the container in VS Code. This ensures visibility. To maintain visibility when plugging and unplugging the device, include the--auto-attachparameter.For example, to use ESP32-C3, change the target device from
esp32toesp32c3as shown below: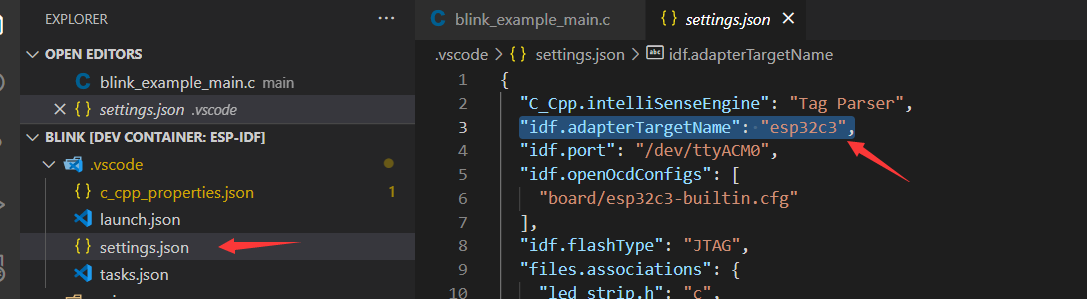
Proceed to build the example project.
After building, you can download the firmware using the following methods.
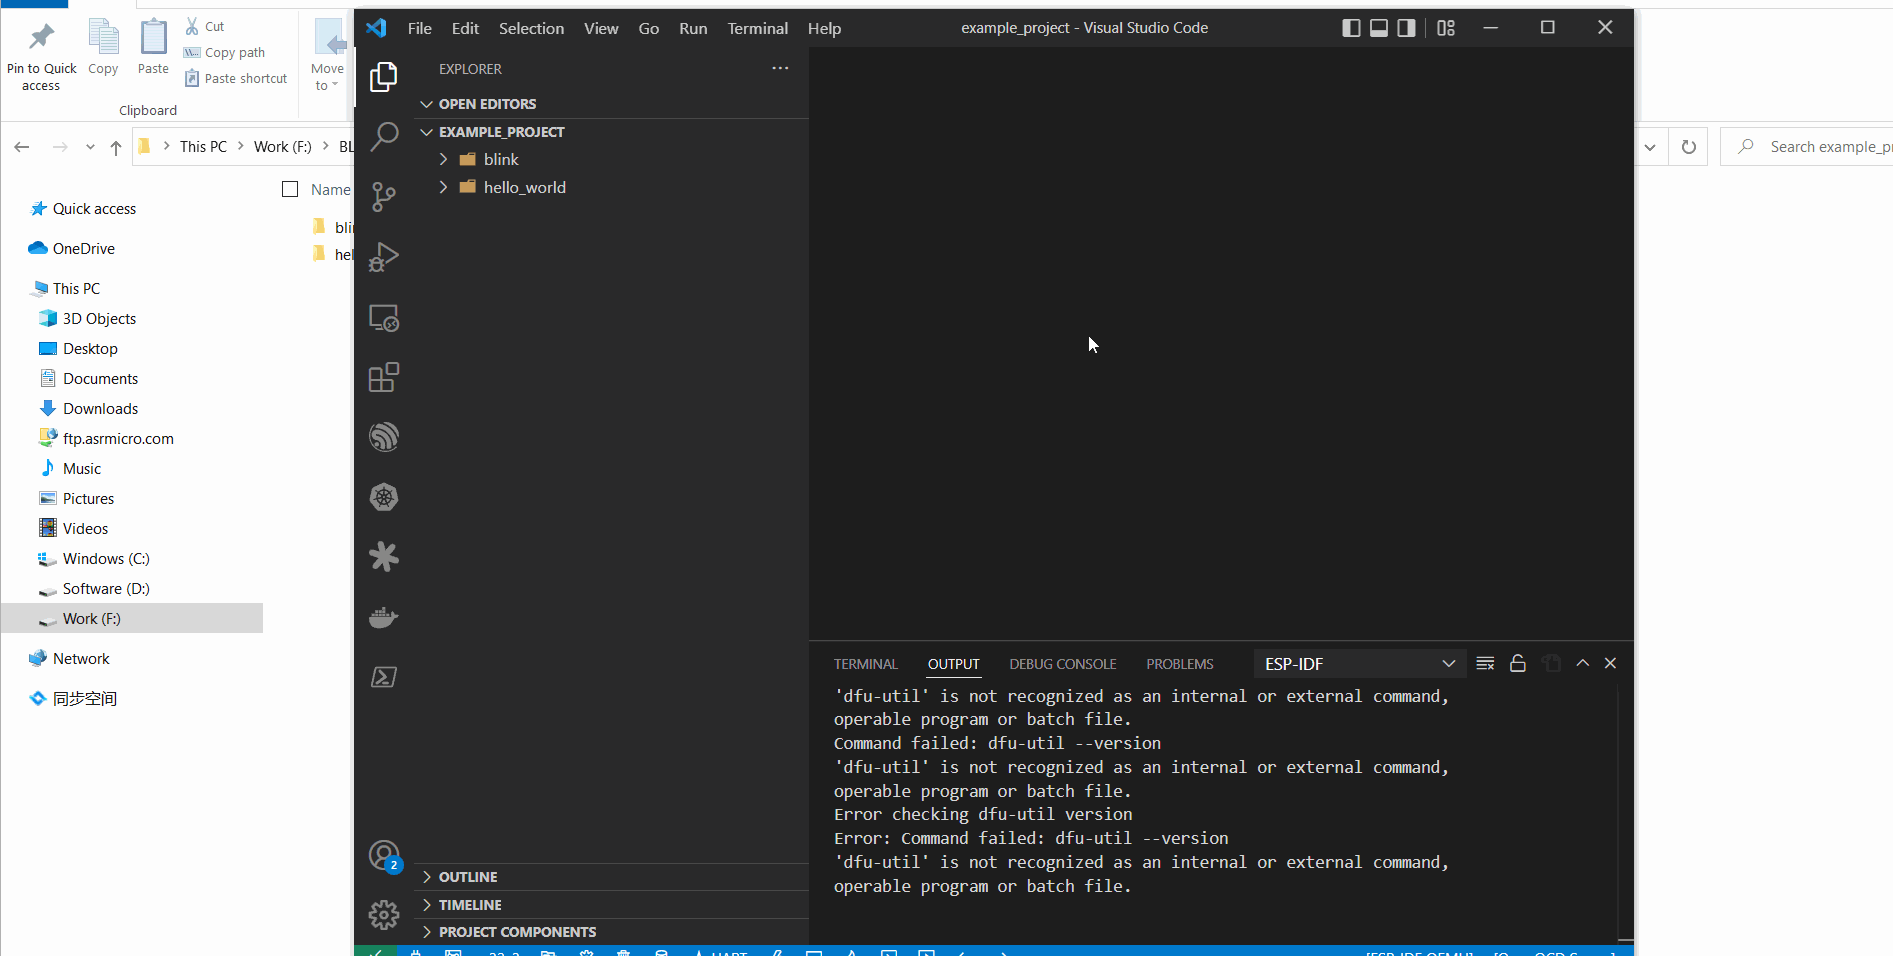
External USB-to-Serial for Docker Container
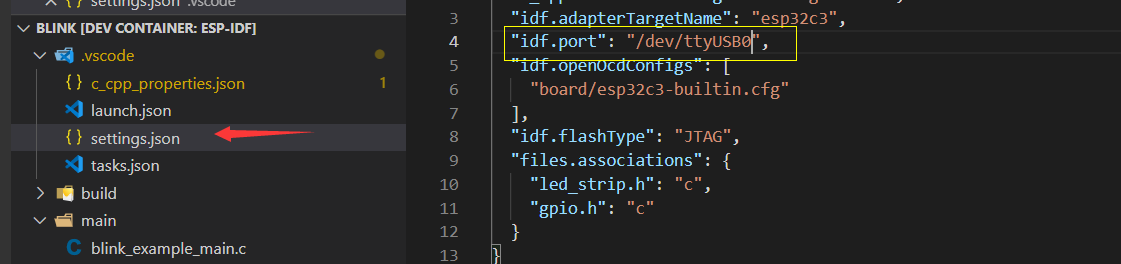
Follow the usbipd instructions as described. Here, the Silicon Labs CP210x USB to UART Bridge is used as an example and is attached to the Docker image.

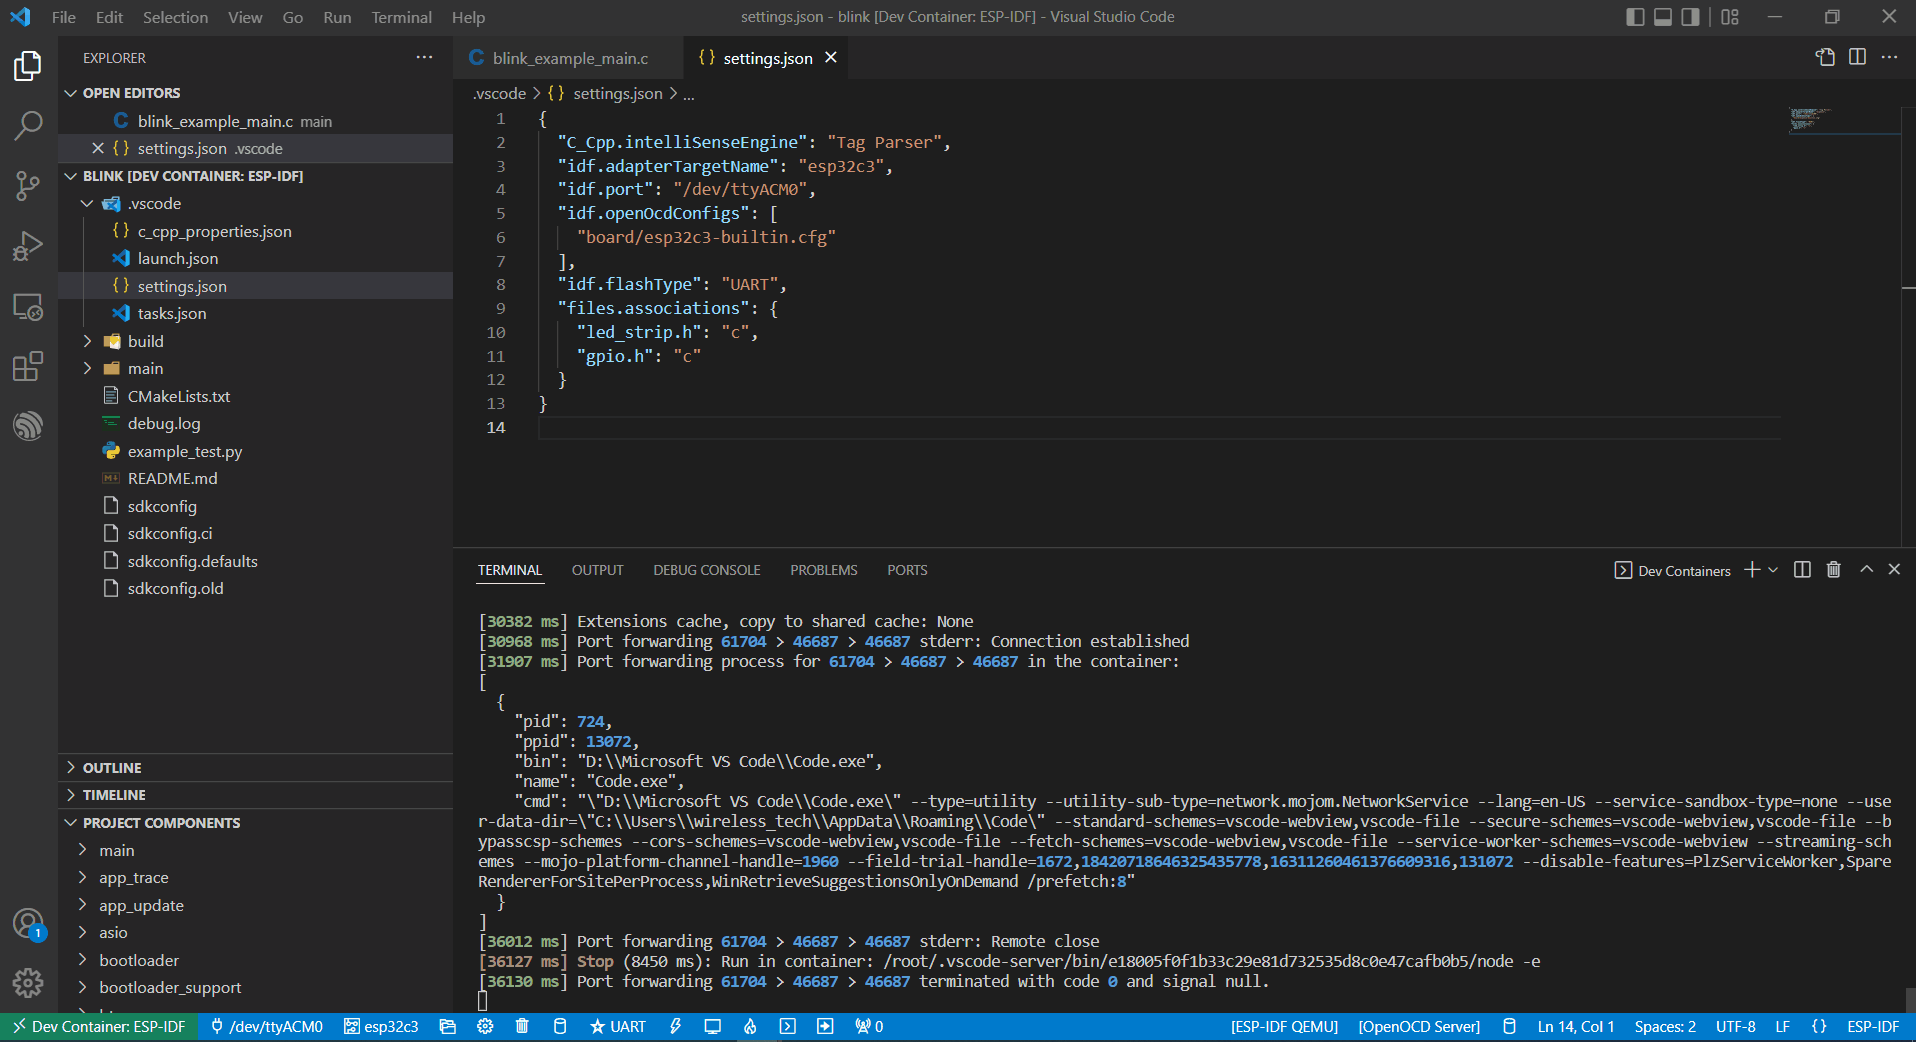
This device is attached to ttyUSB0, so you need to update idf.port accordingly.
The container does not recognize the configuration change immediately.

Reopen the container by selecting Reopen Folder Locally to reload the new configuration.
Finally, click the Flash button to download the firmware.
Internal USB-to-Serial for Docker Container
Similar to External USB-to-Serial for Docker Container, the only difference is the device name attached, where the external usb-serial is ttyUSBx, while the internal usb-serial is ttyACMx.
USB-to-JTAG for Docker Container
Same as External USB-to-Serial for Docker Container and Internal USB-to-Serial for Docker Container, but it needs to configure the following extra parameters:
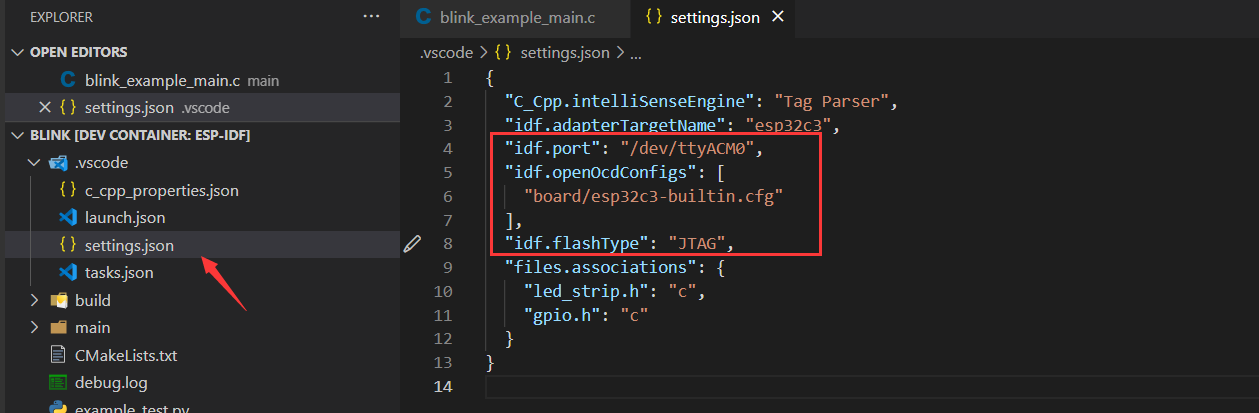
The interface is the same as Internal USB-to-Serial for Docker Container, which is ttyACMx:

Debugging in Docker Container
Copy OpenOCD udev rules files and paste them to the /etc/udev/rules.d directory before running OpenOCD and starting a debug session.
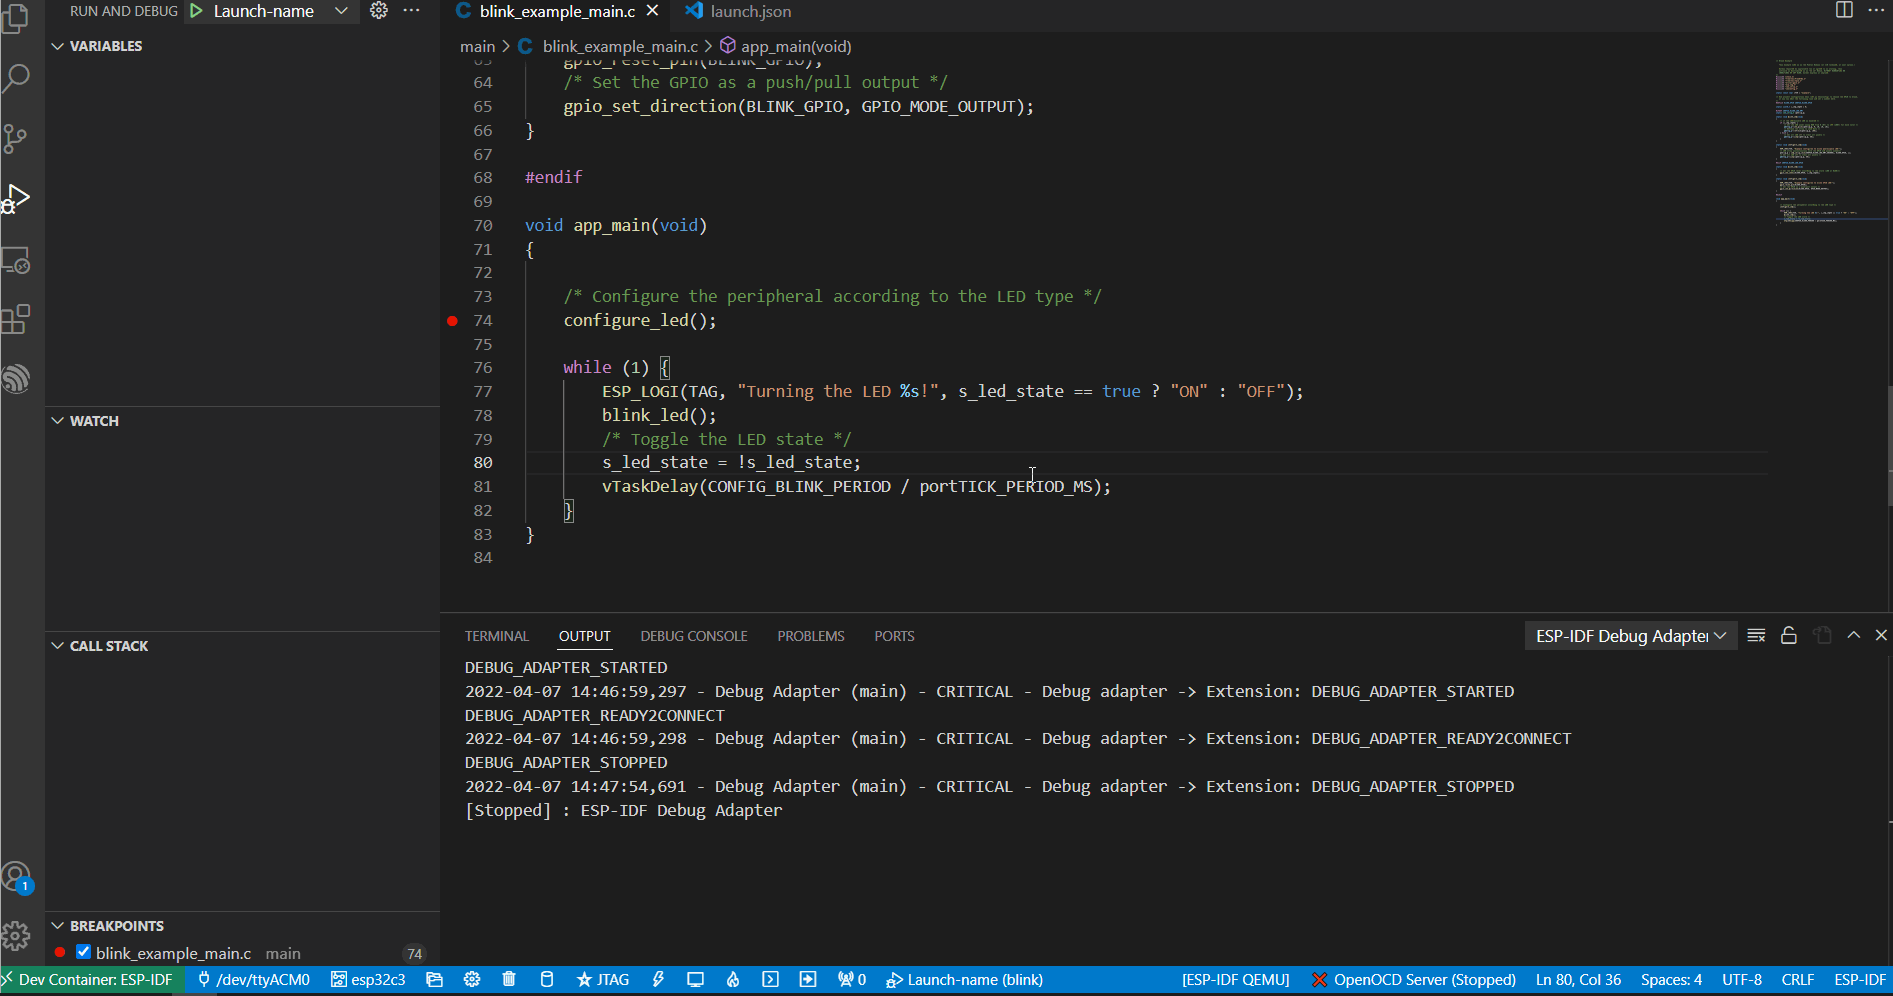
After configuring USB-to-JTAG for Docker Container, press F5 to start debugging.
Note
To debug on Windows, unplug and re-plug the USB cable to ensure the USB port is recognized in the Windows Device Manager.
Keep Docker Desktop for Windows open during container development.